Hello friends! Thank you and welcome to those of you who have made your way here this past week or so. This is my weekly newsletter edition called Friday Food Finds. Here is where I share and recommend recipes I’ve made recently. I provide context for the recipes, indicating if I’ve made any tweaks and alerting you to any possible hiccups.
This week, in true back-to-school spirit, I had to do more than my usual troubleshooting of recipes. Some of the missteps were on me, but in some cases the recipe results I achieved did not meet my expectations. I’ll get into all of that with you shortly, but first I’ll start with a recipe that has proven 100% reliable 100% of the time (even if I choose to make some modifications).
These Ultimate Sandwich Bagels from King Arthur were developed by a friend and former colleague of mine, Molly Marzalek-Kelly. I’ve been making them on and off for a good year now, and after a hiatus this summer I wanted to bring them back into the breakfast rotation. My daughter calls them Molly’s bagels, and they’re the only bagels she’ll polish off happily (even this week when the first-day-of-school jitters were real).
Though my daughter prefers her bagels toasted with butter, true to their name, these are made for sandwiches — especially breakfast sandwiches. Either way, they’re easy to freeze (filled or unfilled) and pop into the toaster or oven in the morning for a quick breakfast.
As I hinted at, these bagels are also adaptable, and I do so on occasions when I want to incorporate other flours/grains into my baking. I’ve made them with up to 50% whole wheat flour, and I’ve used a bit of rye flour in the starter when I don’t remember to get it going the night before I want to make bagels1.
Another easy adaptation (if you have the time and space) is to refrigerate the shaped bagels overnight before boiling and baking them. I did that this time around, and appreciated the flexibility that added to my schedule. These bagels are in every way customizable, which to me, is the hallmark sign that the recipe development process was incredibly thorough.
I like when recipes are developed with intentionality. It’s the reason I was drawn to this recipe for Joanna Gaines’ (co-owner and co-founder of Magnolia Network) Chocolate Chip Cookies after a friend of mine had me try a cookie from her own batch. Upon a quick search for the recipe, I discovered that Joanna purposefully uses less butter in her cookie dough than most typical chocolate chip cookie recipes. So naturally, I needed to try the recipe out for myself, and back-to-school week seemed like the right excuse.
I really didn’t miss the butter flavor in these cookies, which surprised me. I was, however, disappointed that my cookies did not look like the plump, chunky ones in many of the photos of Joanna’s cookies.
After I baked my first batch of 6 cookies (it’s always good to bake off a small batch of cookies as a test), it seemed like something was horribly off. My cookies were practically wafer flat and very chewy. I went back to the recipe and realized I had miscalculated the flour weight conversion (have I mentioned how much it frustrates me when baking recipes don’t include weight measurements!); I was off by a quarter cup. I went back and mixed in the missing flour (I even added a bit extra since I know many people measure flour heavier than I do) then proceeded with baking the rest of my cookies.
While my remaining cookies didn’t turn out quite like wafers, they were (as you may be able to tell) flatter than I expected them to be. Looking at the recipe, I am a little skeptical of the baking soda quantity2. For one thing, a heaping teaspoon of baking soda is an unhelpfully nonspecific amount. Maybe I added too little? But a heaping teaspoon also seems like a lot of baking soda for a cookie recipe. Too much baking soda certainly could have caused the cookies to spread too much before they could set structurally.
These cookies are tasty enough that I will go back and try to correct where I or the recipe went wrong. I actually think the flavors are really well balanced; there are some nice prominent notes of caramelized sugar and cookie dough intermingling with the intense sweet and chocolate flavors. And I really enjoy their chewiness. I’d just like to have more textural contrast in my future batches.
Troubleshooting recipes comes in many forms. Unlike with the cookies, I had no complaints with how this recipe for Whole Wheat Milk Bread from Cynthia at Two Red Bowls turned out. It’s decidedly soft and fluffy and has a lot of flavor thanks to the overnight, refrigerated fermentation and whole wheat. That said, I was a bit mystified by some of Cythia’s ingredient and process choices.
On the ingredient side, I don’t know that the dry milk powder is really necessary. Cynthia doesn’t explain what purpose it serves, but there seems to be enough enrichment from the milk, sugar, and butter without it. I also wonder about the heavy cream and its purpose. I ended up not using it because I didn’t have any, and it felt like an indulgent ingredient I could replace with more milk. My only caution there is that I probably ended up with a slightly wetter dough.
That brings me to the process of mixing and kneading the dough. This is one heck of a sticky, tricky dough to work with, and there’s also a large quantity of it. Cynthia’s instructions are written for mixing and kneading by hand (whether with a spatula or dough scraper, or your literal hands). While I love the idea of kneading by hand, I found it much easier to do so by alternating periods of actively stretching and folding the dough with periods of letting it rest (rather than following Cynthia’s method)3. I did that for about an hour until I felt like I had a dough with enough gluten development to proceed with adding the butter. Of course, at that point, I was a bit fed up with manual labor and recruited my stand mixer to work in the butter.
The final alteration I made to the recipe was purely based on my own wish to make a loaf of bread (to turn into sandwiches for school lunches) rather than rolls. Because this is a sizable recipe, I decided to use a 13” pain de mie (or pullman) loaf pan, inspired by this New York Times recipe for Japanese Milk Bread. I followed Cynthia’s instructions for proofing the dough after I had shaped it, and I baked it for about 55 minutes at 350°F.
Overall, I am pleased with the results of this recipe. I think some changes to the ingredients and instructions could make the process of making it a lot more streamlined and user-friendly. So if you’re ready to try it (it’s worth it!), give yourself some opportunity to play with it. Or feel free to reach out and I’m happy to give you some further tips and suggestions. I just don’t want to bore you to death here!
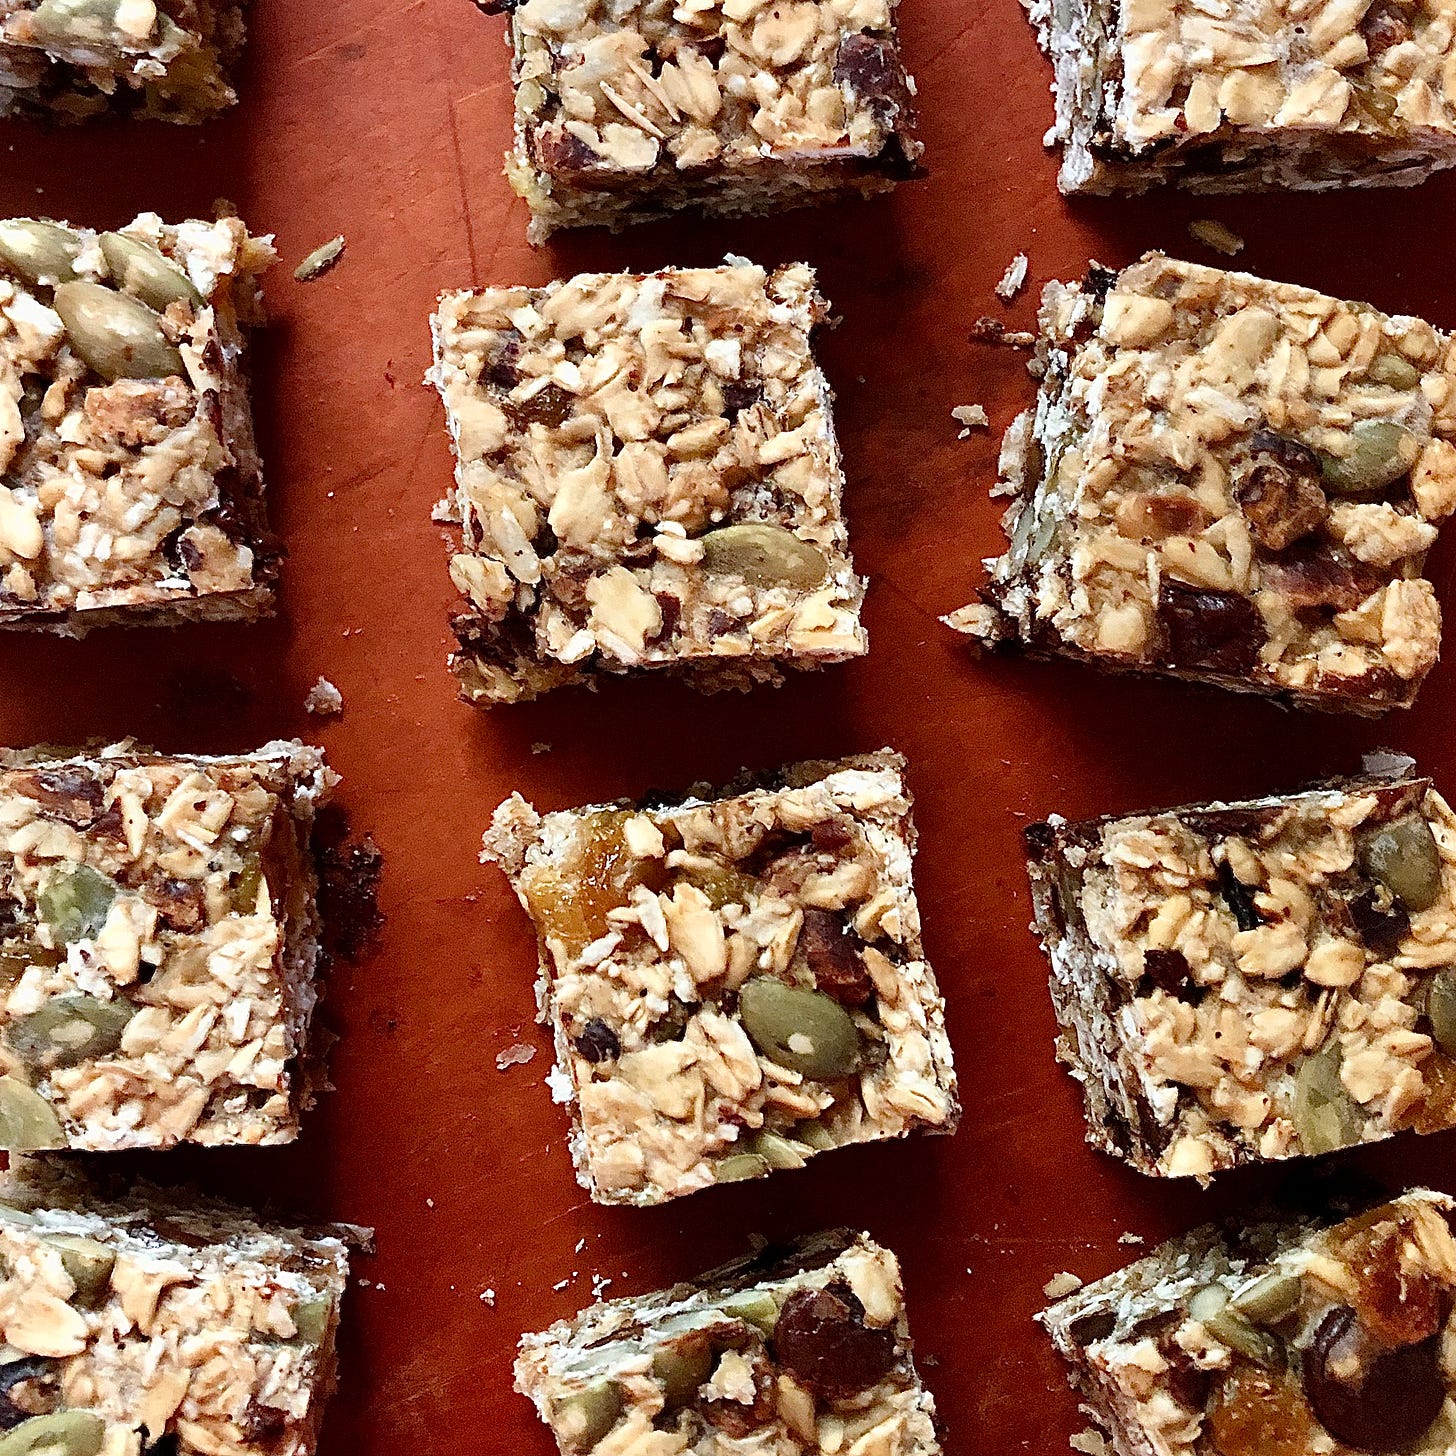
This last recipe I have for you this week is maybe more for you parents (and perhaps active folks) out there than back-to-school kiddos (but who said back-to-school was just for kids?). After trying sourdough granola in a previous Friday Food Finds edition (and developing my own recipe recently for King Arthur), I’ve been wondering how attainable sourdough granola bars would be. Although there aren’t too many people who have tried it, I did find a few recipes. This one from the mom and daughter team (Amelia and Kate) at The Away Café caught my attention because of its simplicity.
The pro of using sourdough culture in granola bars is that it works like a glue to hold all the bits and pieces together. That means you can use less sweetener — which is typically what keeps bars together — and cut down on sugar if that’s something you’re looking to do.
This recipe of Kate’s is both incredibly sturdy and not as sweet as any granola bar I’ve ever made. This unfortunately meant that I wasn’t able to sell them to my kiddos. Instead they’ve been repurposed into my own private stash of bite-sized running and recovery snacks. Because they’re not sticky and don’t crumble apart as you’re eating or running with them (like a lot energy bites I’ve tried to make before), they’re easy to stuff into a pocket or pouch and take on the go. I’ve enjoyed them on a long run this week, and have snacked on them often when I’ve found myself in need of a little pick-me-up. They’ve made a hectic week (at the end of a hectic month) feel a little more palatable.
If you’ve managed to read through this whole email this week, thank you and congrats. There was a lot of ground to cover with the recipes that didn’t go quite as planned. I do think they’re all worthy of trying if you go at them knowing what I’ve shared. Recipe development is really all about setting the right expectations, and these recipes are proof of that.
If you know someone who would enjoy one of these recipes, please share this edition of my newsletter with them. As always, I’m here to answer questions and respond to comments if you have any. Feedback is always appreciated.
Best,
Charlotte
Rye flour is loaded with enzymes that attract a variety of different yeasts. This speeds up fermentation (particularly in sourdough baking, but also when using commercial yeast), so adding it to a starter that doesn’t have as long to sit can help get your starter ready a little sooner. I also like the depth of flavor rye adds to the finished bagels both because of rye’s unique flavor profile, but also because of its high enzymatic activity and readiness to ferment.
Baking soda is higher in pH, which means it needs acidic ingredients (like brown sugar, lemon juice, vinegar, etc…) to activate it. In this recipe there was certainly enough brown sugar to get the activation job done, but the high quantity of each ingredient could have hindered the structural integrity of the cookie.
Stretching and folding is a process of working a well-hydrated (wet) bread dough (often sourdough) in order to promote gluten development (elasticity) and an open crumb structure. In this way, it’s designed to work like kneading, the difference being that you spend less time manually working the dough, and you interchange that time with periods of rest (for both you and the dough). Although the technique is used less frequently with commercial yeast doughs, I found it to be the best way to work with this dough by hand.


