In a week that was much more routine-like for me, I once again found the head space and energy to plan and cook meals for my family. It’s amazing how quickly and naturally that shift happened actually. From having a dinner prepped and ready to reheat before 5:00 p.m. to seamlessly fitting a birthday bake into my day, this week offered the steadiness I needed ahead of summer break.
Quiche is a dish I could easily enjoy on a weekly basis. And yet I rarely make it. Why? Pie crust. Or rather blind baking1 (or par- or pre-baking) pie crust: an essential step for avoiding a soggy or greasy bottom.
It’s not that the tricks of blind baking pie crusts2 elude me. It’s more that they require a good bit of due diligence, which I am less apt to employ (or want to employ) when meal prepping amidst kids and busy schedules.
In any case, I’ve been eager to try out some pie crusts with the regional, freshly milled flours I’ve been able to get. So I figured why not dedicate myself to making a meal out of the project. I turned to Breadtopia for the crust, opting for the formula for Melissa Johnson’s White Sonora Wheat Crust.
Melissa’s very approachable recipe comes with four variations that alter flour ratios and choice of fat(s). I went with the version she likes best, using all butter and half Ground Up whole wheat and half Ground Up all-purpose flours.
The crust was really easy to make with the help of a stand mixer — I think I had it wrapped and in the refrigerator within 5 minutes. It was also a joy to roll out, which can sometimes be an arduous process in itself if you haven’t made your dough properly.
Once my dough was rolled out, I stopped following the recipe and proceeded with the blind baking process:
To blind bake pie crust: Roll the dough out so that it’s 2” to 3” Larger than the diameter of your pie pan.
Center the dough over your pie pan and gently press it in. Fold the overhanging dough to reinforce the edge then crimp as desired3 and dock (poke regular holes in) the bottom of the crust.
Cover the dough with a crumpled up square of parchment paper that’s at least 2” bigger than the diameter of the pan, then fill the crust with enough sugar, dried beans, rice or other grain to come level with the edge of the pan (just below the crimp).
Freeze or refrigerate the crust for 15 to 30 minutes while you preheat the oven to 400°F.
Bake the weighted crust for 20 minutes then remove the parchment and sugar and bake for another 5 minutes.
Let the crust cool to room temperature before adding your quiche filling.
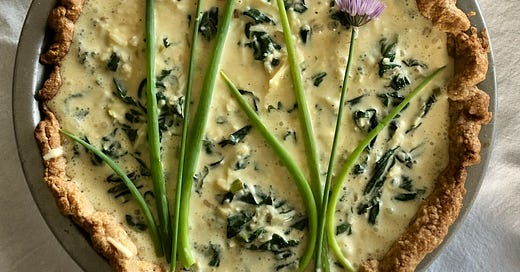
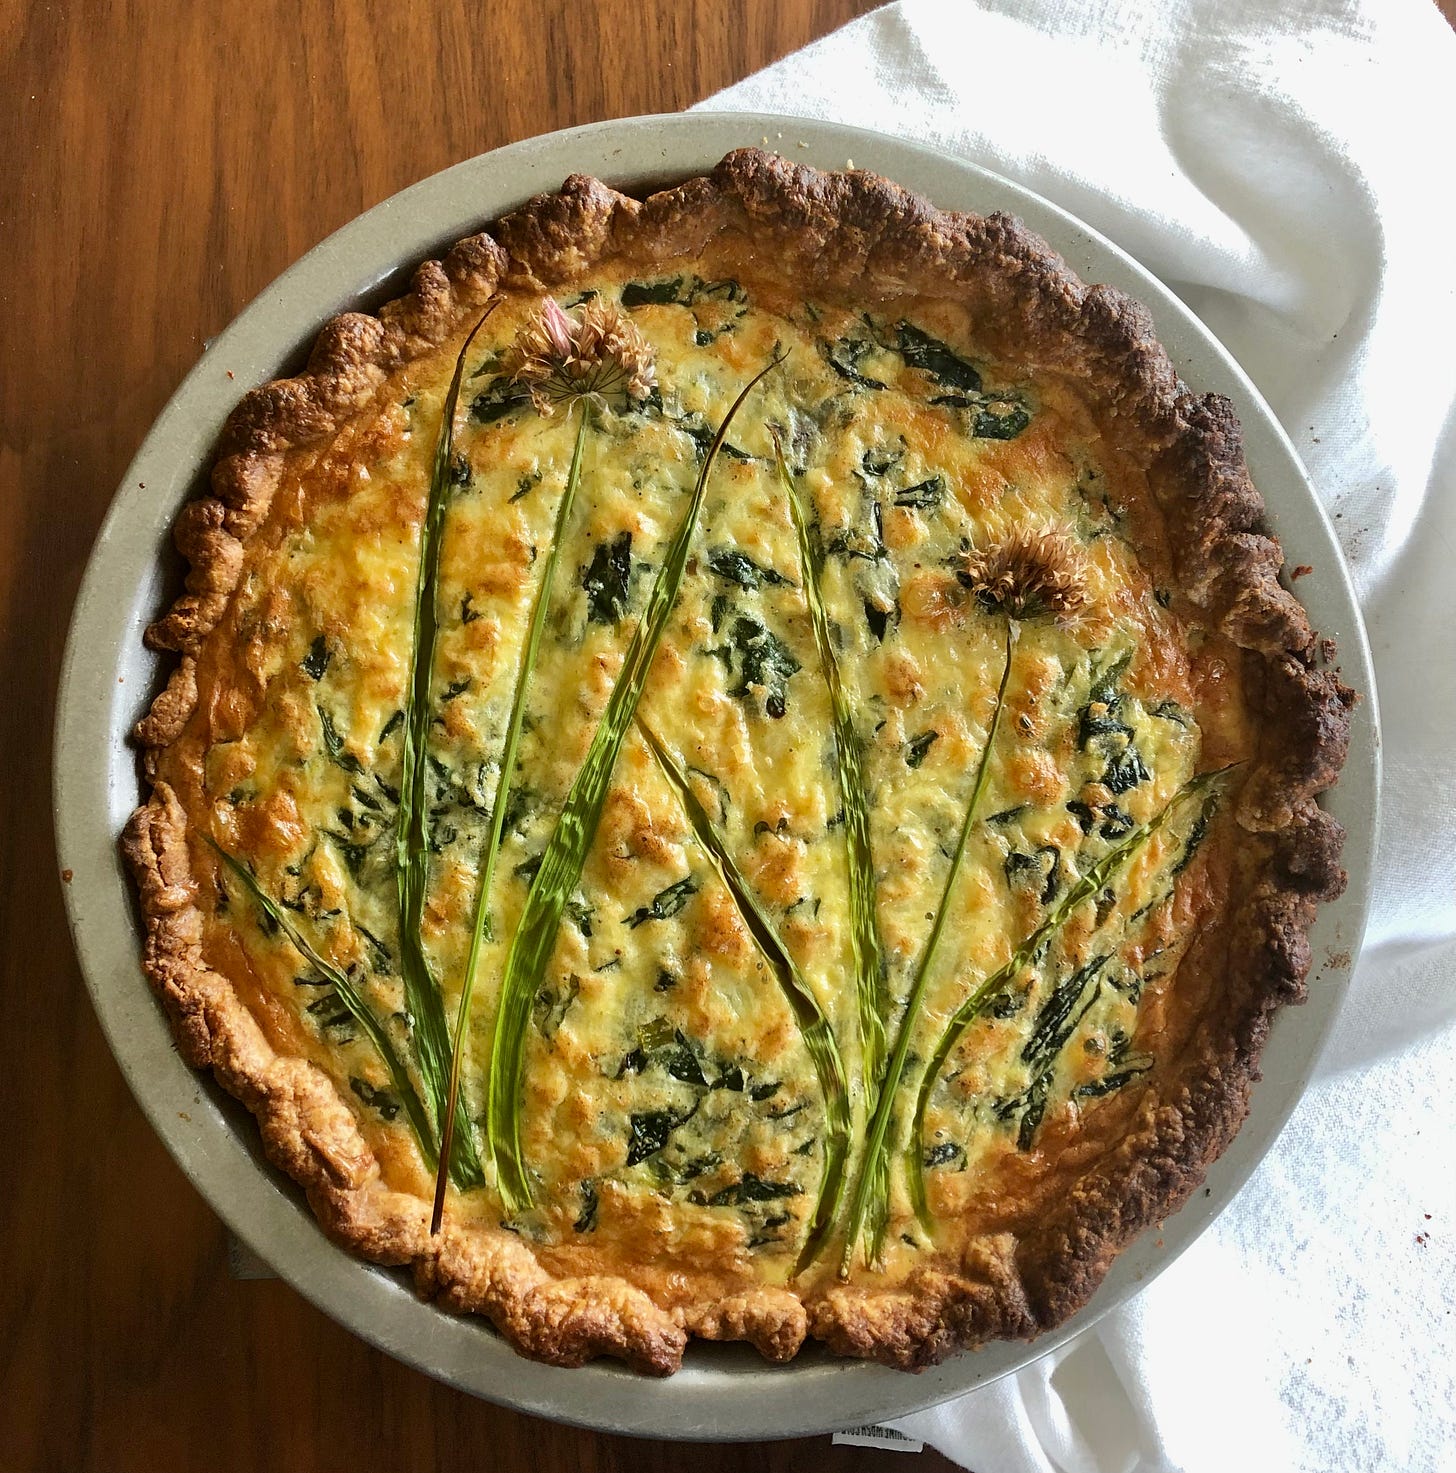
To fill my quiche I chose this Spinach Quiche with Spring Alliums from Elizabeth Stark at Brooklyn Suppers. Clearly I ignored the sheet pan variation — I’m more of a deep-dish quiche kind of person — which worked out well for me. The filling proved to be just the right amount for my 9” pie pan, and all I had to do was bake the quiche for about 20 minutes longer than the sheet pan version (in retrospect, I probably could have blind baked the crust for less time and reduced the temperature of the oven to at least 400°F to bake the filling).
I did alter my filling slightly since green garlic is not quite ready yet here in Vermont. I used a pile of green onions instead, chopping and sautéing the white ends, and using the green ends to decorate the quiche. I also used fresh spinach instead of frozen, and I added beet greens since I didn’t have quite enough spinach. To prepare these, I simply sautéed them with the ramps and green onions.
Together, the crust and quiche filling worked well. I was especially pleased with the flavor of the crust, which, for lack of a better description, tasted as fresh as the filling. There were no off flavors from the grains, which in whole wheat flour can be hard to escape, unless you can buy it fresh or have room to store it in your freezer. I also appreciated how distinctive the crust was in flavor and texture. It was way more than just a vessel for the filling.
For me there was a little too much cheese in the quiche filling — I prefer it as more of a background note to the other filling components. That said, I did appreciate what the cream cheese added to the flavor and mouthfeel of the filling. The slight tang was a nice balance to the richness, and the filling had a bit more body to it. It was a nice touch that I’ll likely consider for future quiches. All in all, this was an appetite-quelling quiche fit for at least a couple dinners in our house.
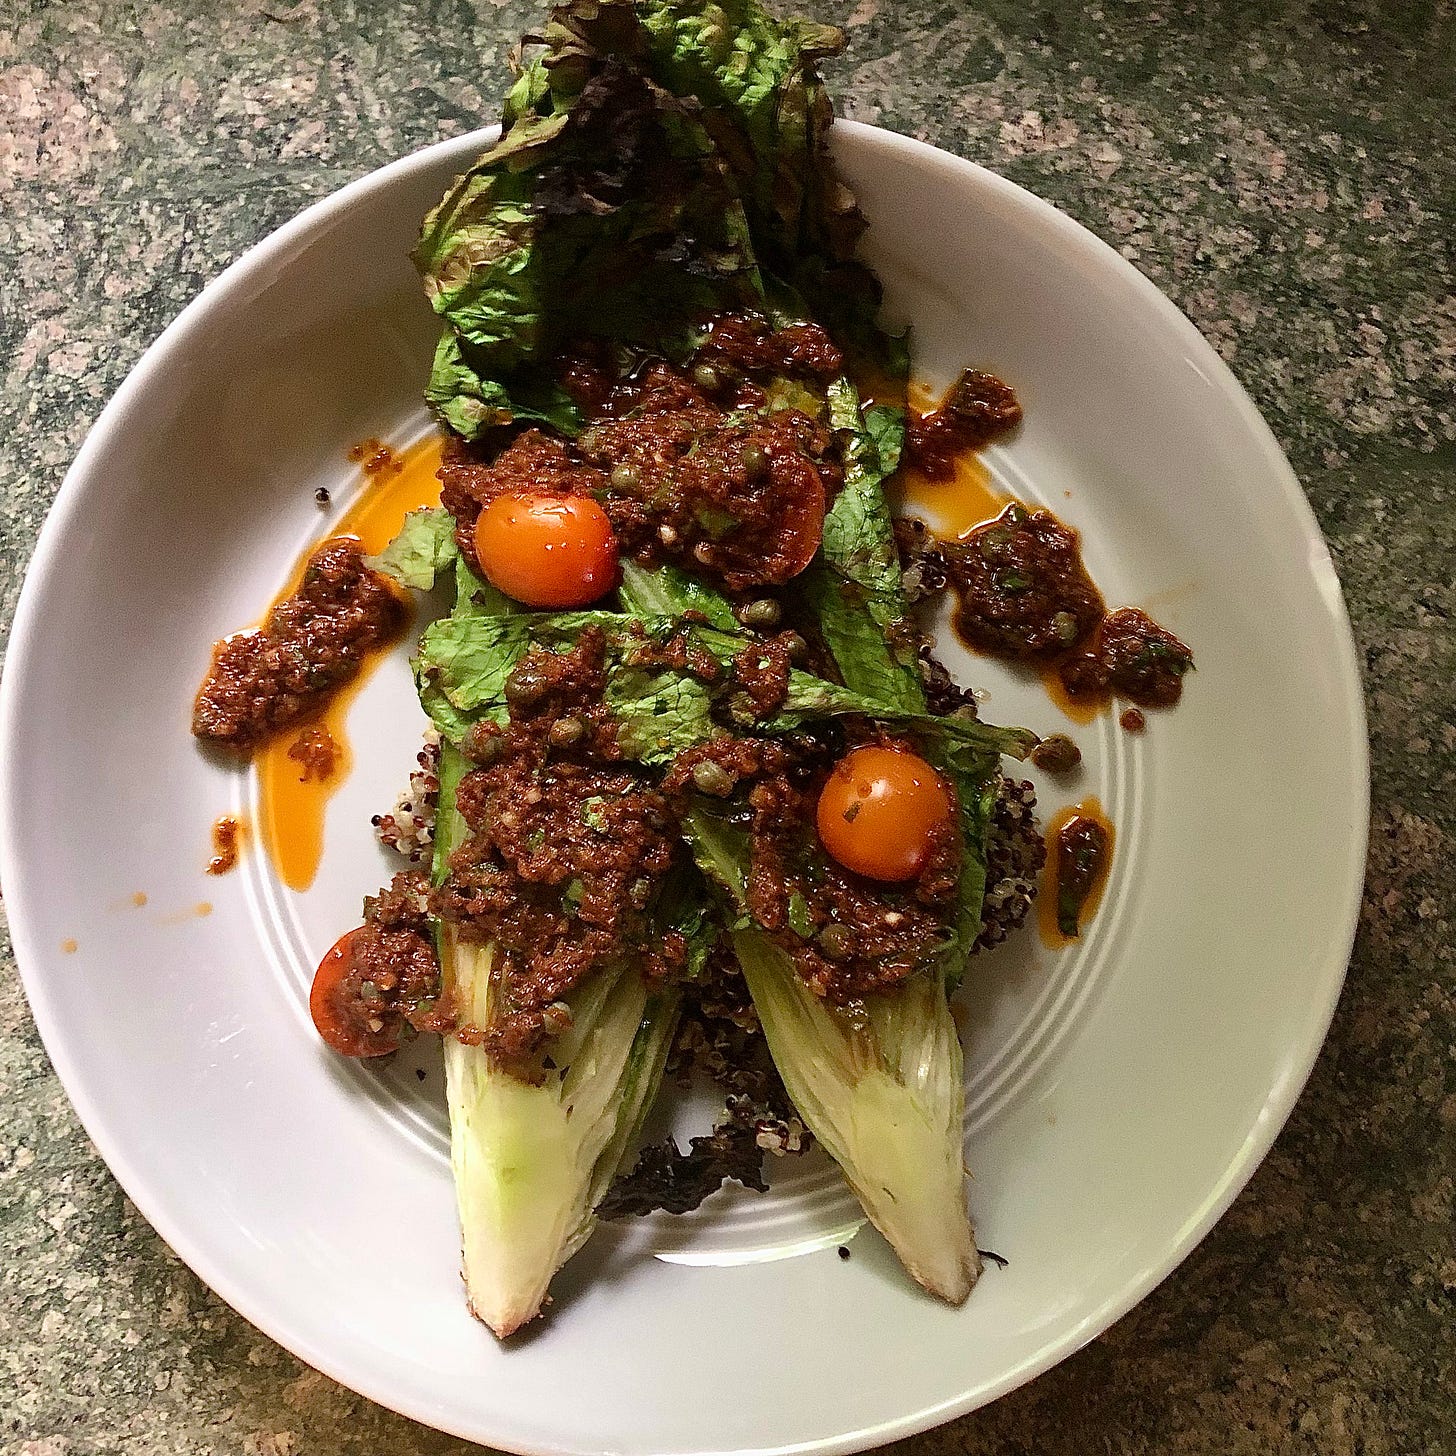
In other dinner finds this week, I tried this recipe for Grilled Romaine Hearts with Rustic Cherry Tomato Vinaigrette from the editors at Vegetarian Times. It worked well alongside beautifully grilled sable fish, fluffy quinoa, and a glass of Albariño.
This was my first experience with grilled romaine, and while I didn’t actually do the grilling myself — my husband gets that job in our family — I did enjoy eating the lettuce this way. It turned out just as you might imagine it would (we used just 1 head of romaine as opposed to the hearts): a soft center, and chard, crackly outer leaves. It’s the ideal base for a full-flavored dressing, which this vinaigrette certainly was.
I’m not normally a huge fan of sun-dried tomatoes, but in this case the tanginess of the capers, vinegar, and orange juice was a nice complement to them. I started with a sun-dried tomato tapenade rather than whole tomatoes, which worked well, though probably made the dressing more oily than it should have been. And that might explain why the dressing was not as emulsified as I wanted it to be. Lesson learned in a rather tasty way. It was at least a good use for that tapenade, which might very well have been the oldest thing in my pantry!
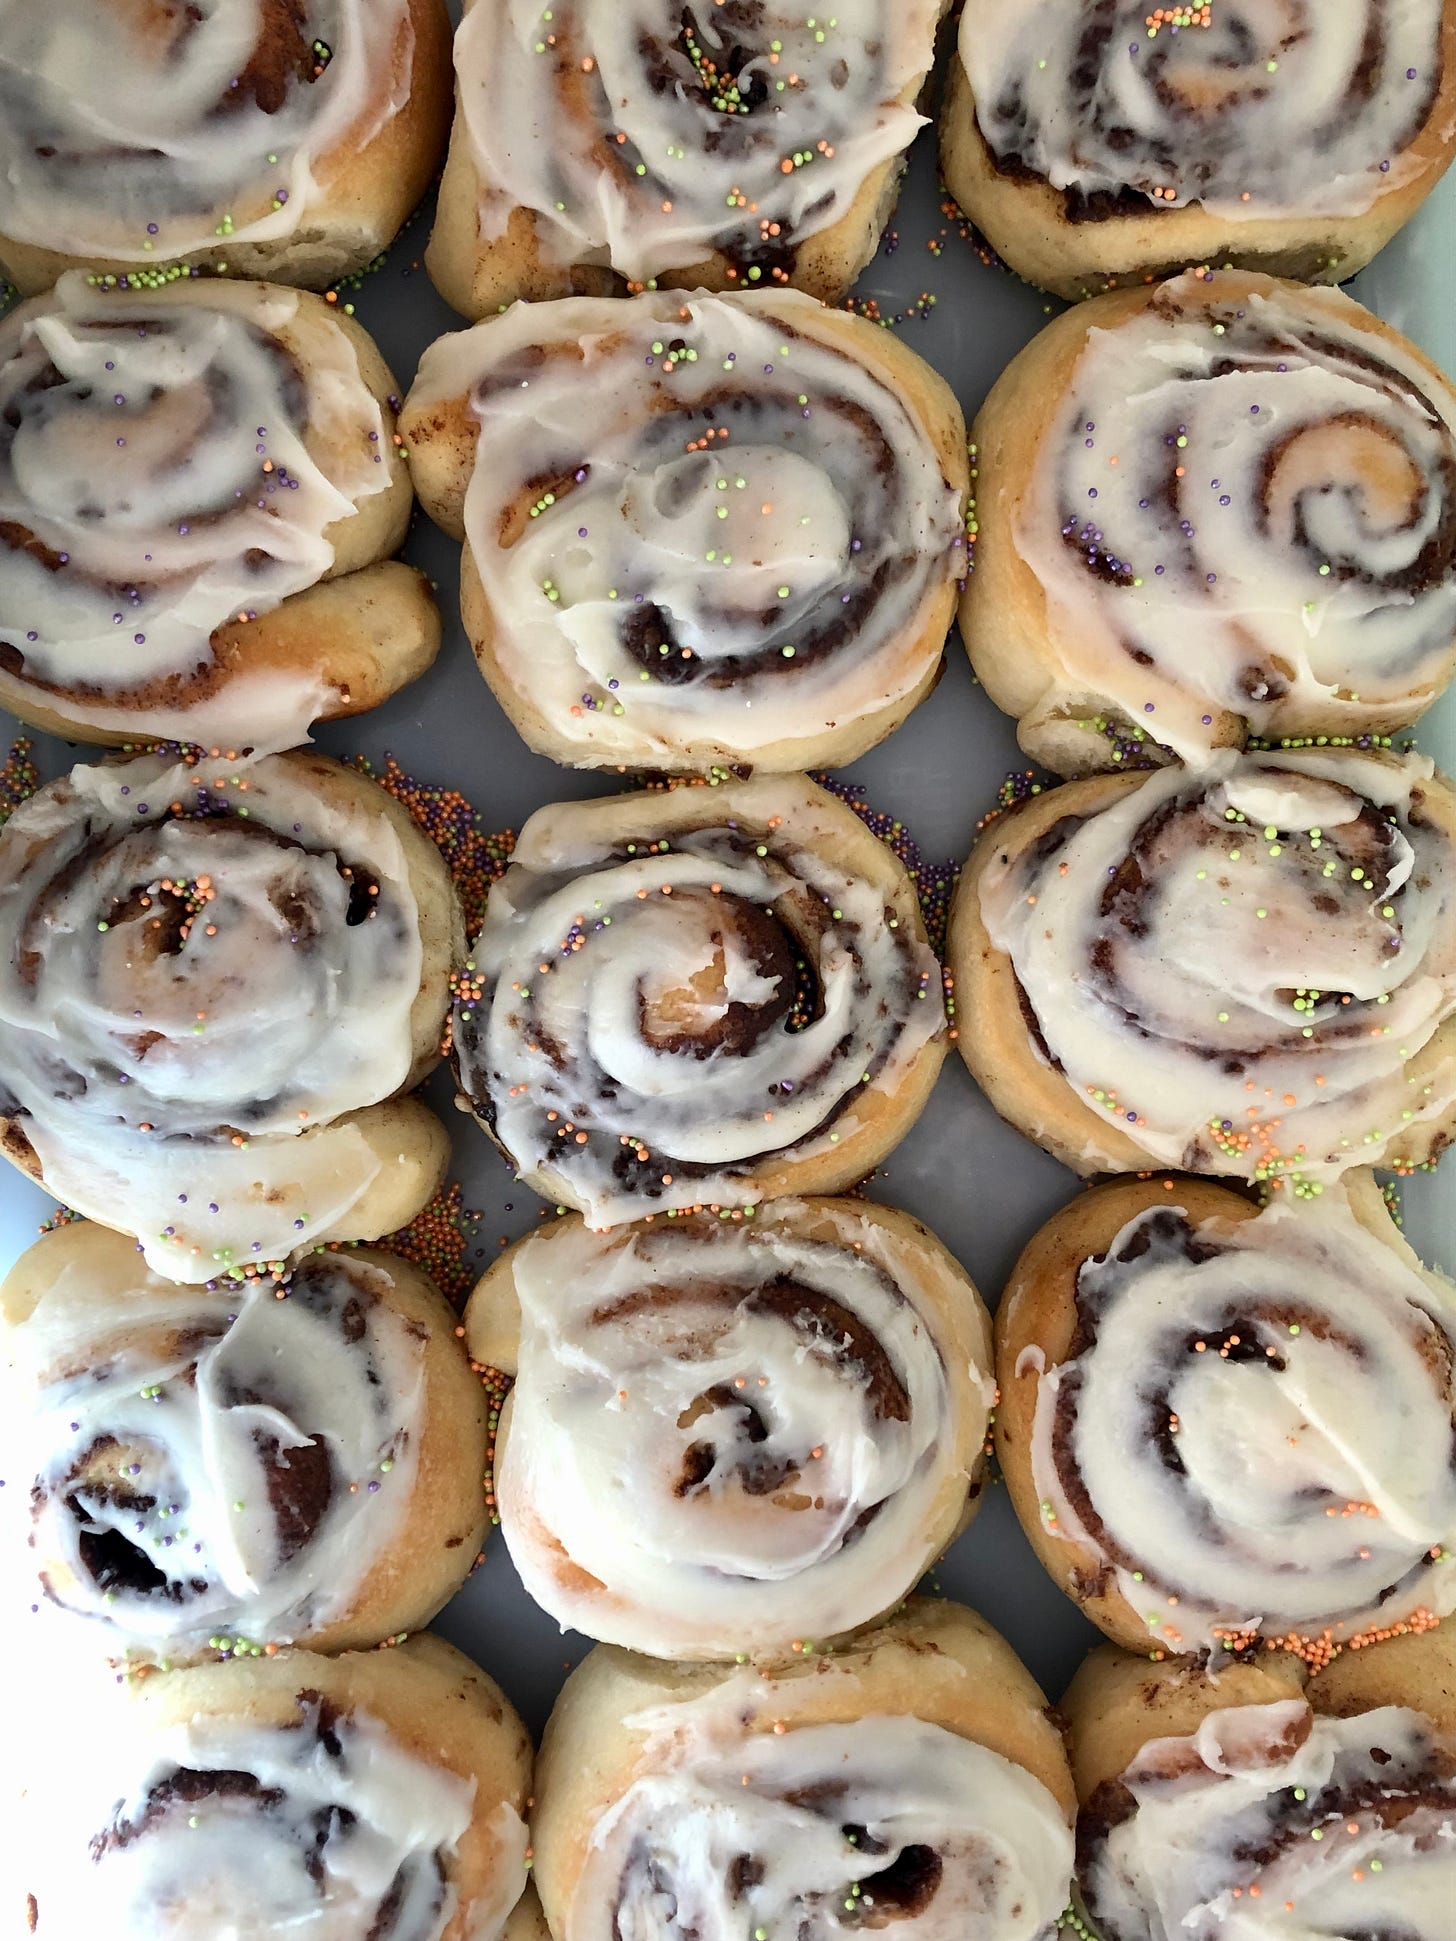
The last recipe I want to share this week is one that I developed back during my time at King Arthur Baking Company. These Perfectly Pillowy Cinnamon Rolls were the company’s 2021 Recipe of the Year, and might just be the recipe I continue to bake the most. That’s partly due to the fact that I have the whole recipe practically committed to memory after baking them dozens of times during the development phase. But the main reason I bake them so frequently is because the people I give them to just love them so much.
My daughter is one of those people. So after we were finally given the green light to bring in home-baked treats to school, she specifically requested these for her birthday celebration at the end of the school year (even though she is a July baby, her teacher so kindly makes a point of celebrating all the birthdays at some point during the year). They were a big hit with the kids and adults alike, and I am now happily fulfilling a request/order for two dozen for the last day of school.
In case you don’t know about these cinnamon rolls, their secret power is that they don’t go stale within hours of baking them. Thanks to a technique known as tangzhong, some of the flour is scalded in milk before the dough is mixed. This allows the starches to swell and pre-gelatinize, which in turn allows the dough to retain more liquid. As a result, the rolls are remarkably soft, and they stay that way for multiple days. It’s also a fairly simple, straight-forward process that you could apply to other breads once you become more familiar with it. In fact, I took the dough from this recipe and converted it into these Chocolate Hazelnut Rolls for the first edition of this newsletter.
I could probably go on and on about these cinnamon rolls, but I’ll spare you that for now. I’ll simply suggest that if you try to add sprinkles, you should do so immediately after frosting each roll or use a looser icing with more liquid. As you can see in the photo, our little nonpareils had a hard time adhering to the stiffer set icing.
That rounds up another week of Friday Food Finds. I welcome any and all feedback, and I’m happy to answer any questions that I’ve left unanswered about these recipes.
If you like my work, I hope you’ll consider a paid subscription at some point as the financial support allows me to devote more time to writing here.
I am thrilled to have you here regardless though, and this community is every reason why I write. I love seeing it grow too, so if you know someone who would enjoy my writing and receiving a fresh batch of recipe suggestions every week, please do share it with them. Everyone is welcome!
Blind baking is a technique used to fully or partially pre-bake a pie crust in a pie pan without any filling. Fully baked crusts are necessary for any pies made with fillings that are also fully cooked separately. Partially baked crusts are a good way to ensure the crust and filling bake to the same degree of doneness when the filling needs to bake for a shorter amount of time.
These tips will ensure a blind baked crust retains most of its shape and size:
Avoiding stretching or overworking the dough at any point during the process.
Chilling the dough and allowing it to rest, particularly after you have mixed it and again after you have rolled it out and placed it into your pie pan.
Using a metal or ceramic pan rather than glass.
Docking (or poking holes) in the bottom of the crust.
Leaving an overhang around the edge of the crust and pie pan or crimping the edge (in case the dough does shrink, which it likely will a little bit).
Filling the unbaked crust to the edge with a pie weight of some kind (some companies actually sell pie weights, but I find that there are never enough of them to fill the pan). Dried beans, rice, or other grains all work, and sugar is a great alternative to all of those! For a 9” pan, you’ll need about 4 cups.
If you’ve made an all-butter crust, the crimp will most likely lose its shape as the crust bakes, but you’ll still benefit from the taller border.


Such a beautiful quiche! And fascinating to know why KAF cinnamon buns don’t go stale - I often buy them from Sweetland’s Farm and had noticed they mysteriously stayed delicious and pillowy for days 😍 thank you Charlotte!