If I had a month to spend in France every year, I might very well pick January. Why? Well, for starters, there’s usually some global culinary event that takes place at some point during the month — this year it’s the final of le Coupe du Monde de la Pâtisserie (Pastry World Cup) happening in Lyon. However, my main motivation for traveling to France during one of the dreariest months of the year has less to do with culinary competitions and international expos, and more to do with one single baked good: the galette des rois (king cake).
Baked and eaten to commemorate Epiphany (or Three Kings Day)1 on January 6th, the king cake is a well-established Christian tradition. Different countries and communities observe the day with different forms and flavors of cake (those of us in the U.S. might recognize the sweet yeasted ring shaped cakes adorned with yellow, green, and purple sugars). Often though, the commonality among king cakes is the presence of a fève (or small figurine) — an icon of the Baby Jesus — that is baked into the cake. Typically, the person whose slice contains the fève is rewarded with some element of good fortune.
In France there are at least two different well-known varieties of cake: there’s the ring-shaped, candied-fruit-studded brioche that’s mostly enjoyed in the South around Provence; and the more pastry-like cake made from rounds of puff pastry and almond cream (or frangipane).
Regardless of which cake is prepared though, the tradition for serving and enjoying king cake in France is consistent. As the cake is being sliced, the youngest participant sits under the table and decides who gets which piece of cake. Then everyone enjoys the cake, and the person who gets the piece with the fève is crowned royalty for the day.
When I was growing up, my family didn’t always practice the rituals surrounding king cake, but I do have many delicious memories of enjoying a freshly baked puff pastry and almond cream galette. The years we happened to be in France for the galette season (from about the end of December to the end of January), we would buy ours from one of the local bakeries, but when we were in the U.S. my mom would often bake one for us.
Today, I’m sharing my own recipe for a galette des rois. It’s inspired by my memory of the king cakes I enjoyed growing up and versions from David Lebovitz, Dorie Greenspan, and the newly updated French Pastries and Desserts by LeNôtre.
Although many recipes for galettes des rois call for frozen store-bought puff pastry, in my recipe I do provide the ingredients and instructions for making your own “quick” puff pastry using a little bit of whole wheat flour. I do this because I stubbornly think homemade pastry is almost always better than store-bought, and because whole grain flour results in more flavorful and arguably more tender pastry2. You can certainly still achieve a great galette with store-bought puff pastry if that’s your preference or desire. I just recommend looking for a product that uses all butter, like Dufour (see the tips at the bottom of the recipe for instructions on how to use frozen pastry).
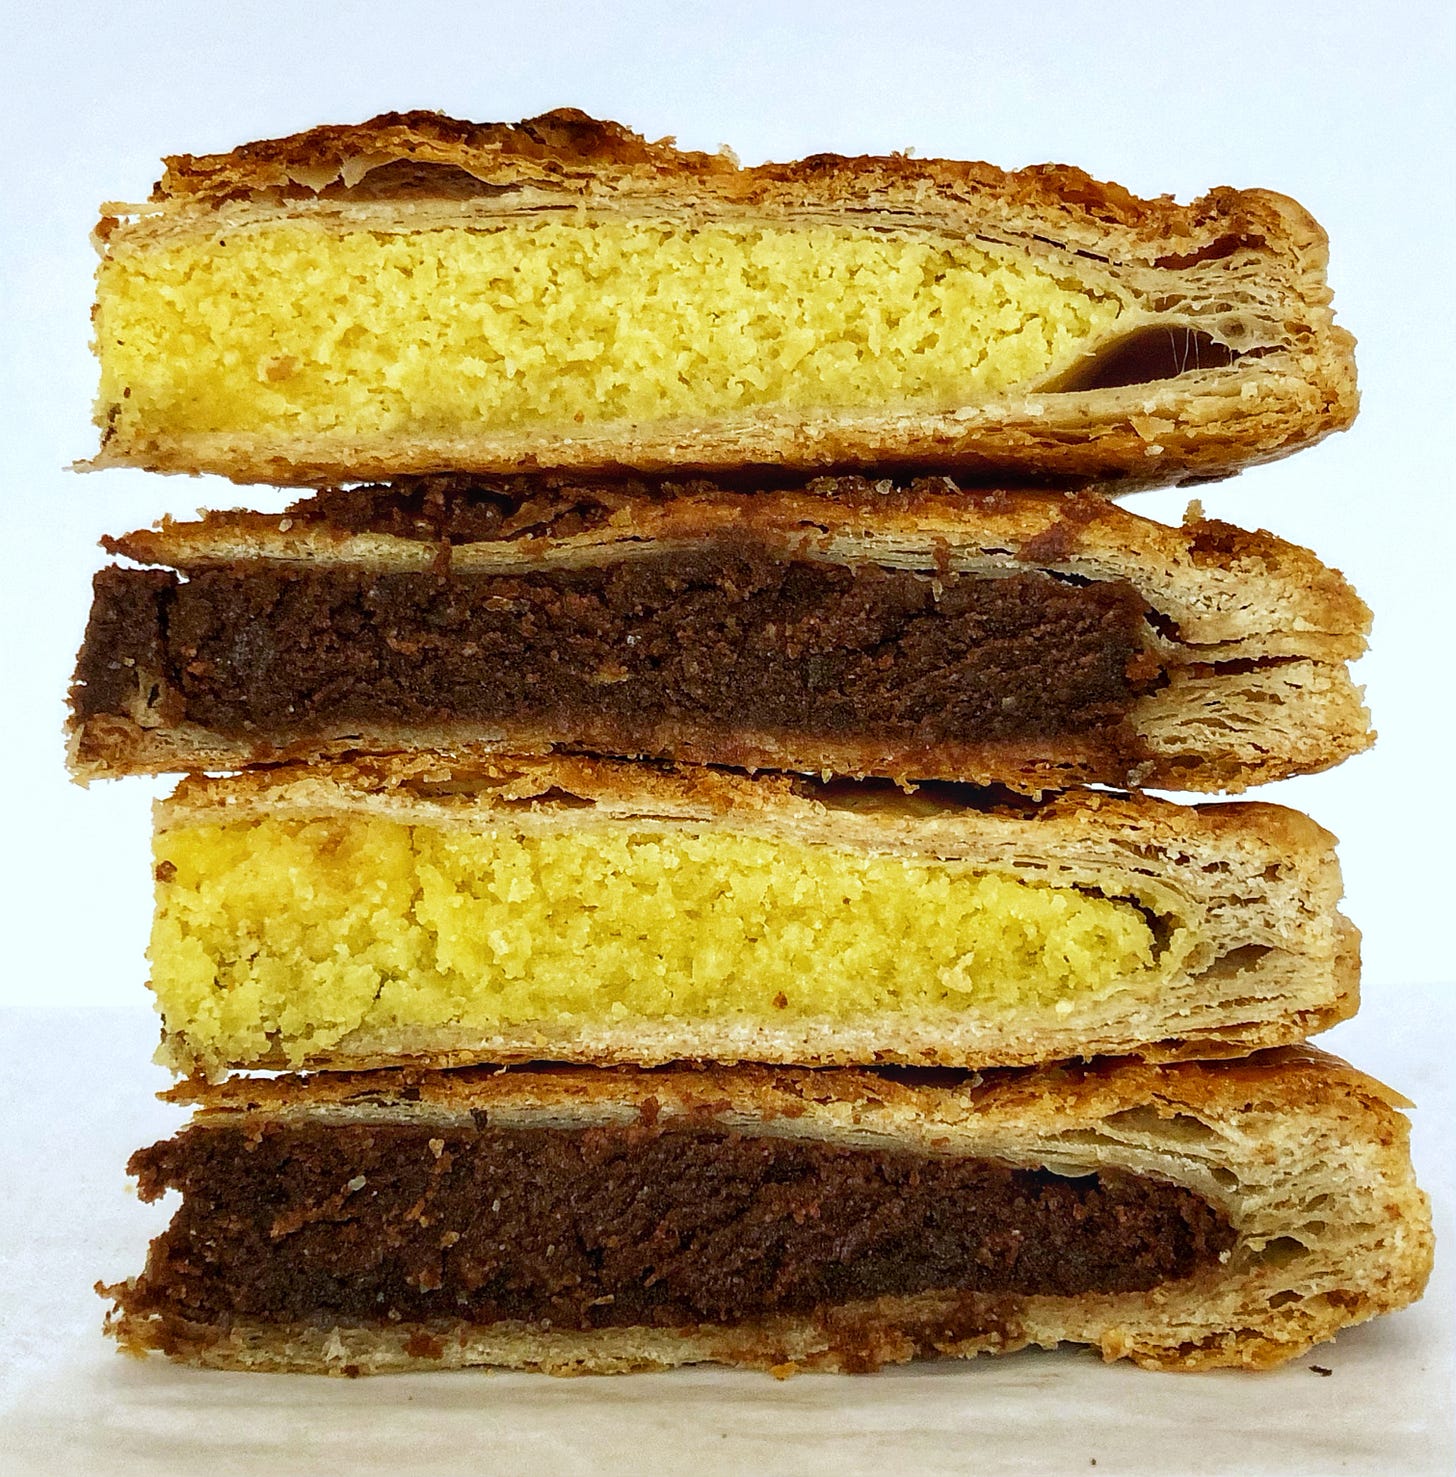
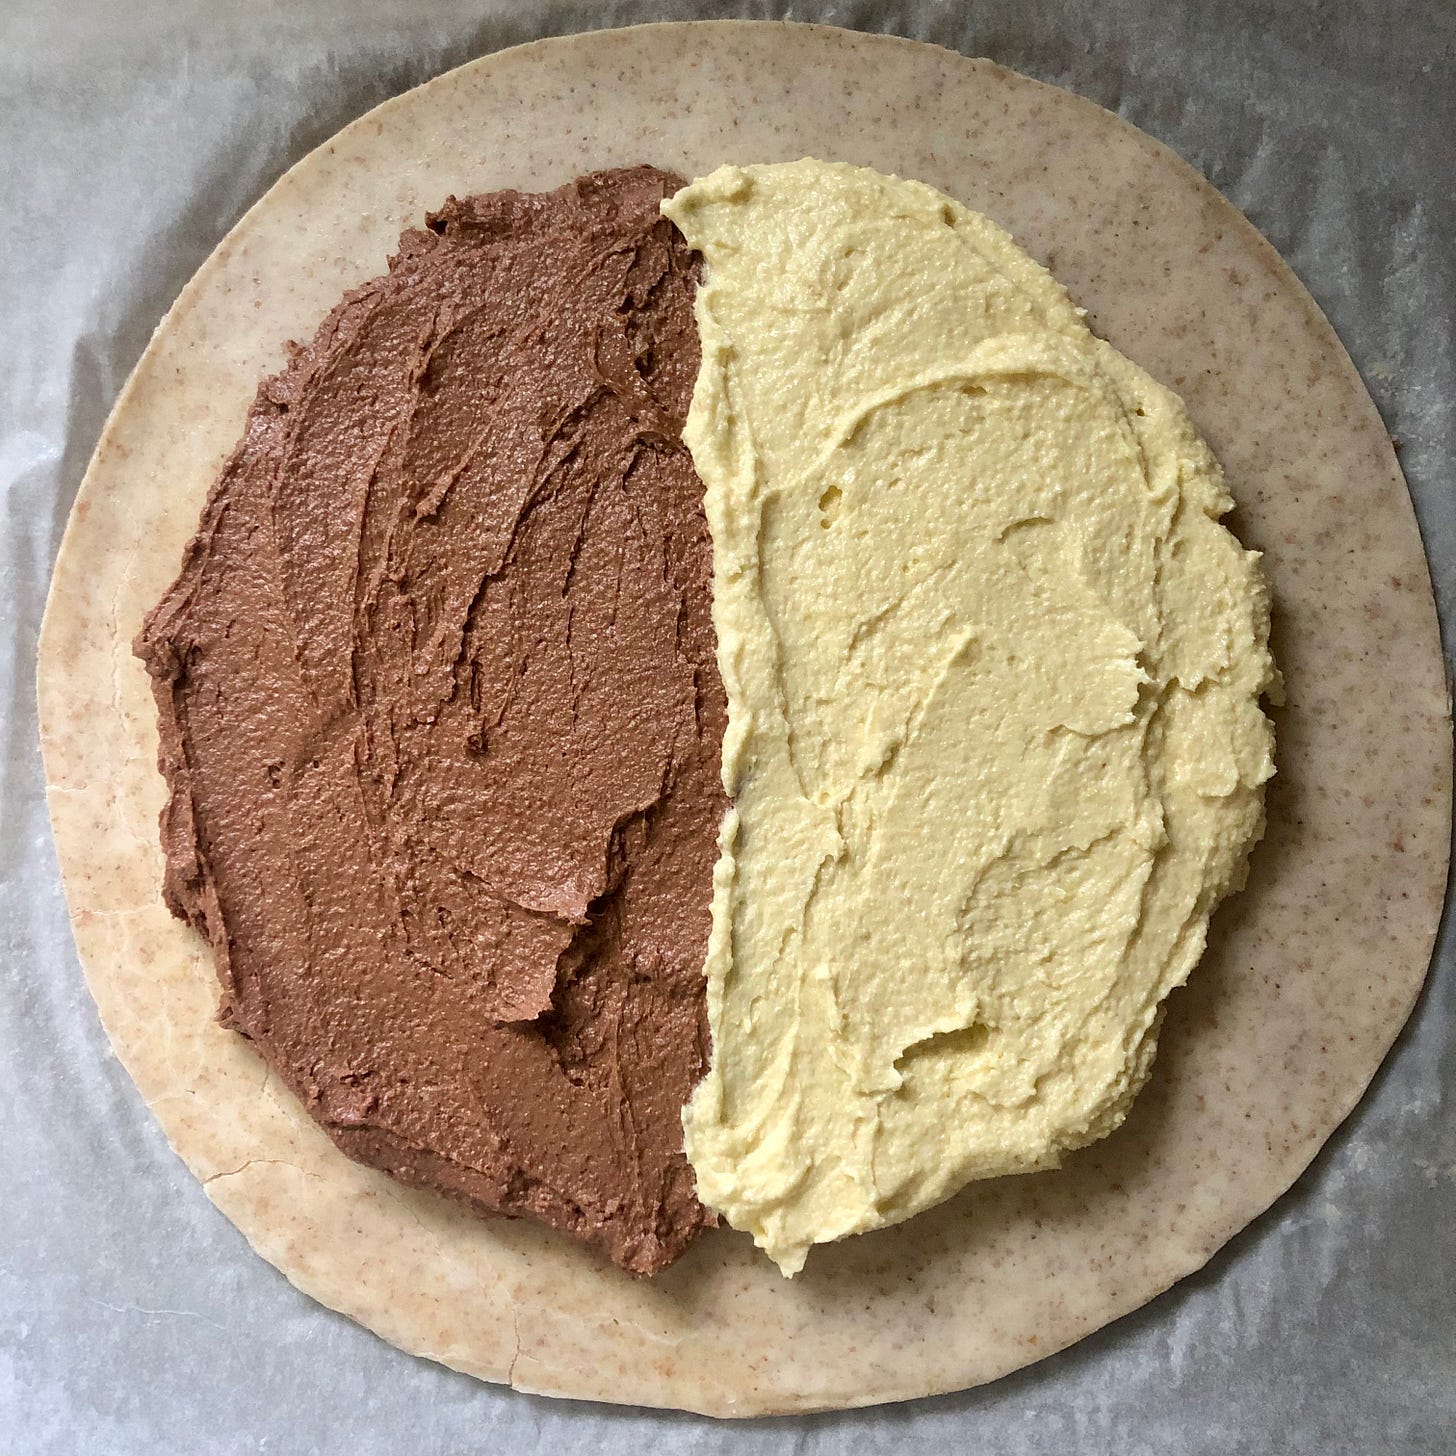
As for the filling, I’m sharing a more traditional almond cream recipe and giving you the option to add a little melted dark chocolate as a flavor variation. In my most recent test, I actually made a two-toned (and flavored) galette, adding half the amount of melted chocolate (1 1/2 ounces or 43g) to half of the filling (about 165g). You could do that too if you’re looking to add an extra element of surprise when you cut into your galette.
No matter what direction or recipe you choose, I hope you’ll find more than one occasion to make a galette des rois this season. Maybe you’ll even establish a tradition in your own family to repeat in the years to come.
Galette des Rois
Printable Version
Active time: 45 minutes
Inactive time: 1 hour
Baking time: 40 minutes
Total time: 2 hours 25 minutes
Yield: one 10” galette

The galette des rois is one of the most noteworthy cakes (or pastries) of my childhood. My mom, a French immigrant, shared the galette tradition not only with my dad, sister, and me early on, but also with many of our family friends throughout my childhood. She even helped me make a galette (you can guess who did the bulk of the work) for one of my French classes in elementary school. When we happened to be in France after Christmas or in January, the galette was often the dessert of preference for big celebratory Sunday lunches.
Although traditionally served for Epiphany on January 6th, the galette des rois is widely enjoyed throughout France from the end of December to the end of January. Just about every bakery makes its own version, and some even enhance theirs with unique flavor twists. The “nature” (French for plain, but in a good way) will always be my favorite, but for this recipe, I’ve given you the option to make a chocolate version. I’ve been surprised by how irresistible I’ve found it, so I think it’ll appeal to all of you chocolate lovers out there. Bon appétit!

Ingredients
Pastry
- 1 3/4 cups (210g) all-purpose flour
- 3/4 cup (90g) whole wheat flour
- 16 tablespoons (227g, 2 sticks) cold unsalted butter, divided
- 2/3 cups (151g) cold water
- 1 teaspoon salt

Filling
- 3 ounces (85g) dark chocolate, optional
- 6 tablespoons (85g) softened unsalted butter
- 3/4 cup (85g) confectioners’ sugar
- 1 cup (96g) almond flour
- 1/4 teaspoon salt
- 1/4 teaspoon almond extract, 1 teaspoon vanilla extract, or 2 teaspoons dark rum; optional
- 1 large egg
- 1 large egg yolk, egg white reserved for the topping
- 1 whole almond or other fève, optional

Topping
- 1 large egg white beaten with 1 teaspoon water
- confectioners’ sugar or simple syrup, optional

Directions
1. To make the dough: Combine the flours in a large mixing bowl or the bowl of a stand mixer.
2. Cut 8 tablespoons (113g, 1 stick) of the butter into 1/2" cubes, then add the pieces to the bowl with the flours. Using your fingers or the beater attachment on the mixer, slowly work the butter into the flour until it’s evenly crumbly; the texture should be fine and sandy.
3. Make a well in the center of the flour-butter mixture then pour in the water and add the salt to the water. Using fingers, a dough scraper, or a sturdy spatula, slowly incorporate the water into the flour-butter mixture — by hand or on low speed of your mixer — until you have a smooth, stiff dough. There should be no dry patches left in the bowl.
4. Transfer the dough to a lightly flour work surface and roll it into a 6” x 18” rectangle, using your hands to even out the edges as you go.
5. With your rolling pin, gently pound the remaining 8 tablespoons (113g, 1 stick) of butter on its wrapper or a clean section of counter until it’s a 1/4" thick and the shape of a long rectangle or oval.
6. Break off 1” to 2” pieces of butter and scatter them over the top 2/3rds of the dough.
7. Fold the bottom (unbuttered) third of the dough up over the middle third then fold again over the top third (like a business letter) so that all the butter is completely enclosed in the package of dough.
8. Rotate the dough 90° then roll it out again into a 6” x 18” rectangle.
9. This time, fold the bottom and top quarters of the dough towards the center so that they meet. Then fold the dough in half (like a book) to make four layers.
10. Rotate the dough 90° again and repeat this book-folding process one more time.
11. Wrap the dough and refrigerate it for at least 1 hour.
12. At this point, if you are ready to get to your galette-making, your dough is ready. If, however, you have the time and ambition to do two more folds (like in steps 8 through 10) and another 1 hour rest in the refrigerator, you will be rewarded with more flaky layers of dough and butter. The choice is entirely yours and either is exactly the right one.
13. To make the filling: If you’re making the chocolate filling, chop the chocolate into rough 1/2" pieces and place in a microwave-safe bowl or in a heat-safe bowl over a pot of gently simmering water (bain marie). Melt the chocolate gently — in 30-second increments in the microwave or in the bain marie — until smooth and glossy. Set aside.
14. In a mixing bowl or the bowl of your stand mixer, beat the butter and confectioners’ sugar together — with a hand or stand mixer — until smooth and creamy; you’re not going for a lot of air here, so this should take less than a minute.
15. Scrape the bowl then beat in the almond flour followed by the salt and extract or rum, if using.
16. Scrape the bowl again, add the egg, and beat to incorporate. Repeat with the egg yolk.
17. If using, stir in the chocolate until evenly blended.
18. To assemble the galette: Remove the dough from the refrigerator and cut it in half widthwise with a sharp knife. Set one piece off to the side and roll the other piece into a 10” to 11” square on a lightly floured work surface.
19. Place an upside-down plate or bowl that’s about 10” in diameter in the center of the dough and use it as a template to cut out a circle of the same size. Place the dough circle on a piece of parchment paper and set aside.
20. Repeat the rolling and cutting process with the second piece of dough.
21. Spread the filling over the center of the dough on the parchment paper, leaving a 1” thick strip around the perimeter of the dough uncovered.
22. If desired, find a spot to bury your fève or almond, smoothing the surrounding filling over the top.
23. Brush the bare edge of the dough with water.
24. Center the second dough circle over the filling, and press the edges down to seal it to the bottom circle.
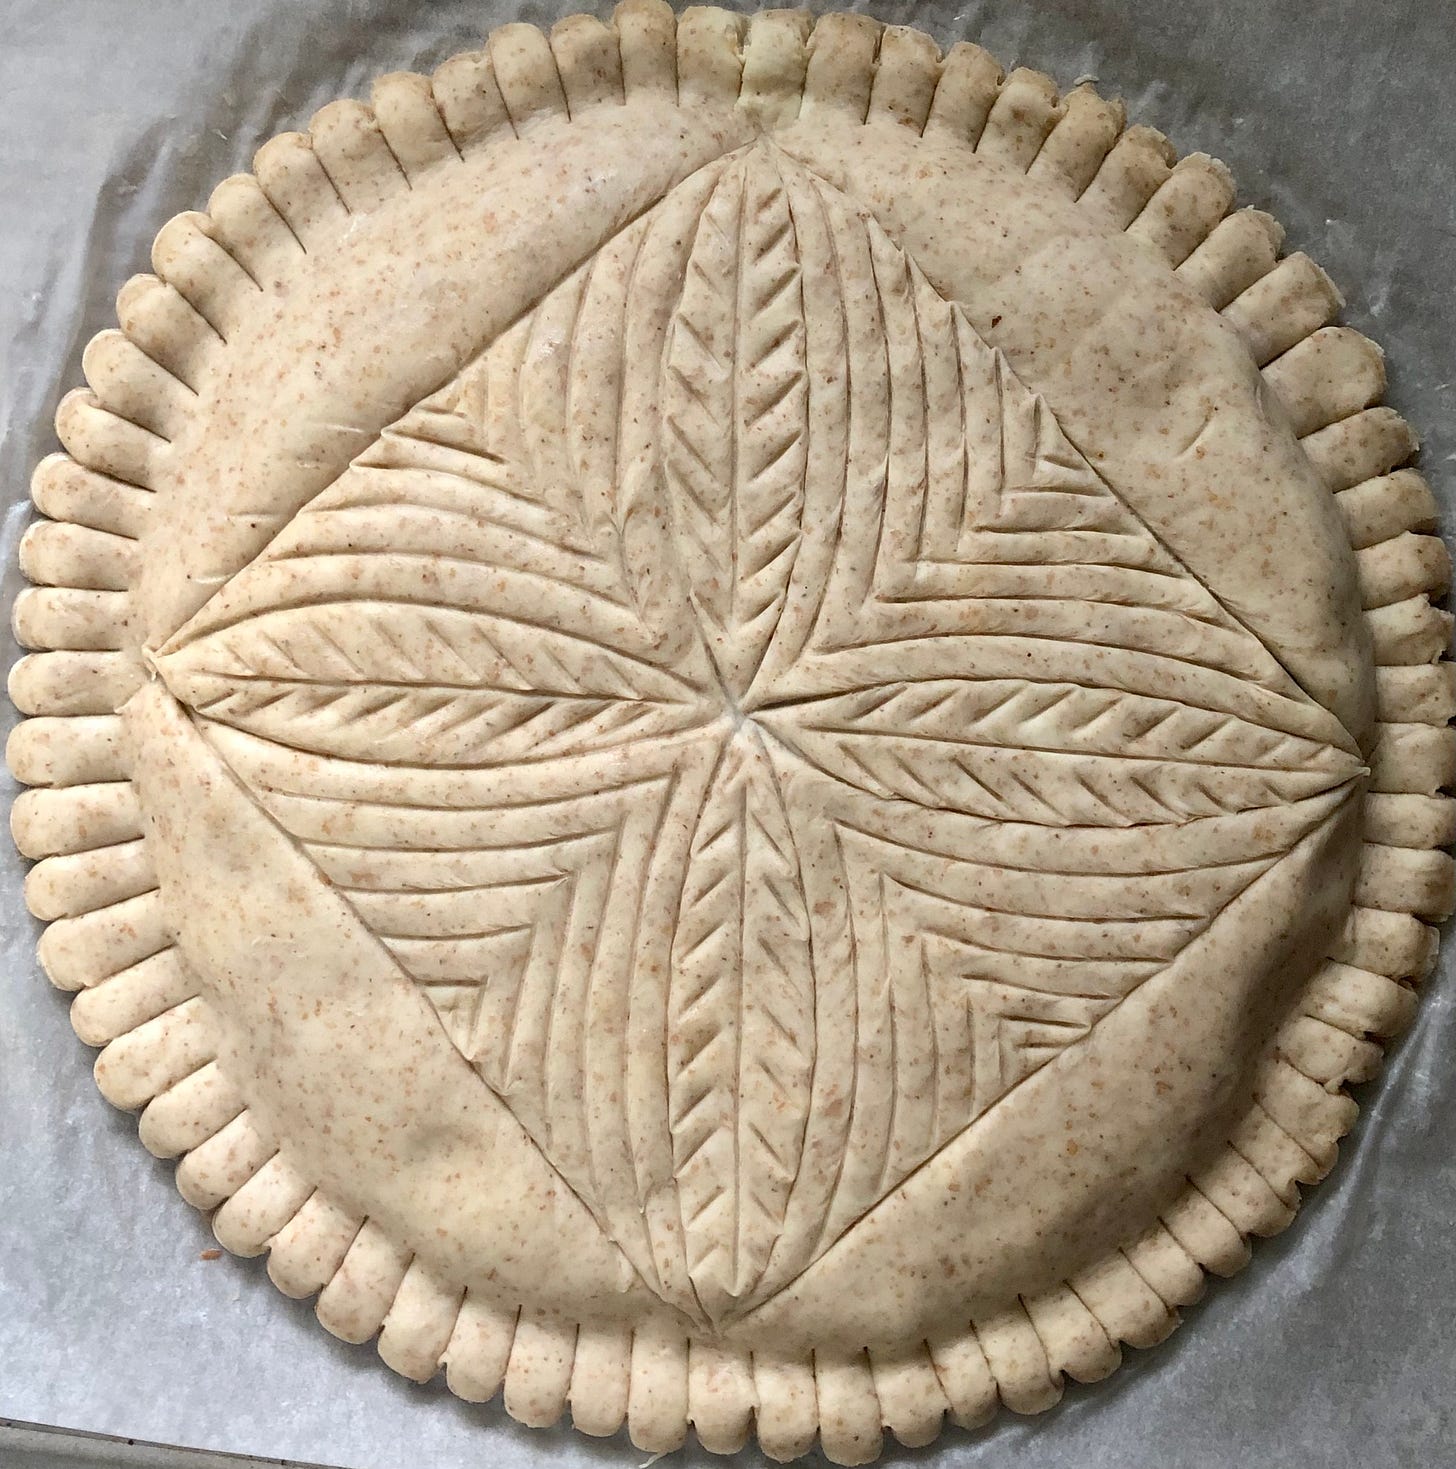
25. Using the dull side of a butter knife score the perimeter of the galette by holding the knife horizontally and pressing down at regular intervals around the edge. You can also scallop the edge by holding the knife vertically and pressing it in towards the center of the galette.
26. Continue to use the dull side of the knife to score a pattern onto the surface of the tart — a pinwheel is easy and common, but a chevron pattern is nice too, or you can get artistic and have fun!
27. Brush the egg white wash onto the top of the galette, avoiding adding too much around the edges — egg wash that drips down the sides will prevent the pastry layers from rising.
28. Using the parchment transfer the galette to a baking sheet and refrigerate it for about 30 minutes before baking.
29. In the meantime, preheat the oven to 425°F.
30. Bake the galette for 15 minutes then reduce the oven to 350°F and bake until the galette is golden brown on top, about 25 minutes longer.
31. Remove the galette from the oven and turn your oven to its lowest broil setting (see below if your oven doesn’t have a broil setting).
32. Use a fine sifter to dust a thin coat of confectioners’ sugar over the top of the galette.
33. Place the galette under the broiler, and broil for 30 seconds to 2 minutes until the sugar has melted and created a shiny coat over the surface of the dough. You’ll want to watch your galette carefully at this point!
34. Remove the galette from the broiler and allow it to cool to lukewarm or room temperature before serving.
35. Store leftover galette loosely covered at room temperature for several days. Reheat portions in a low 250°F oven for 3 to 5 minutes to crisp up the pastry.

Tips:
If you do not have a broiler (or you’d rather not bother), you can skip the glossy finish entirely, or you can brush a thin coat of simple syrup over your galette instead.

If using frozen store-bought puff pastry, you'll need about 1 pound of it (a little more or a little less means your layers might be a little thicker or thinner, respectively, which is fine!), and it will need to thaw in the refrigerator overnight. Roll the pastry out according to steps 18 to 20, and proceed with the recipe as written.
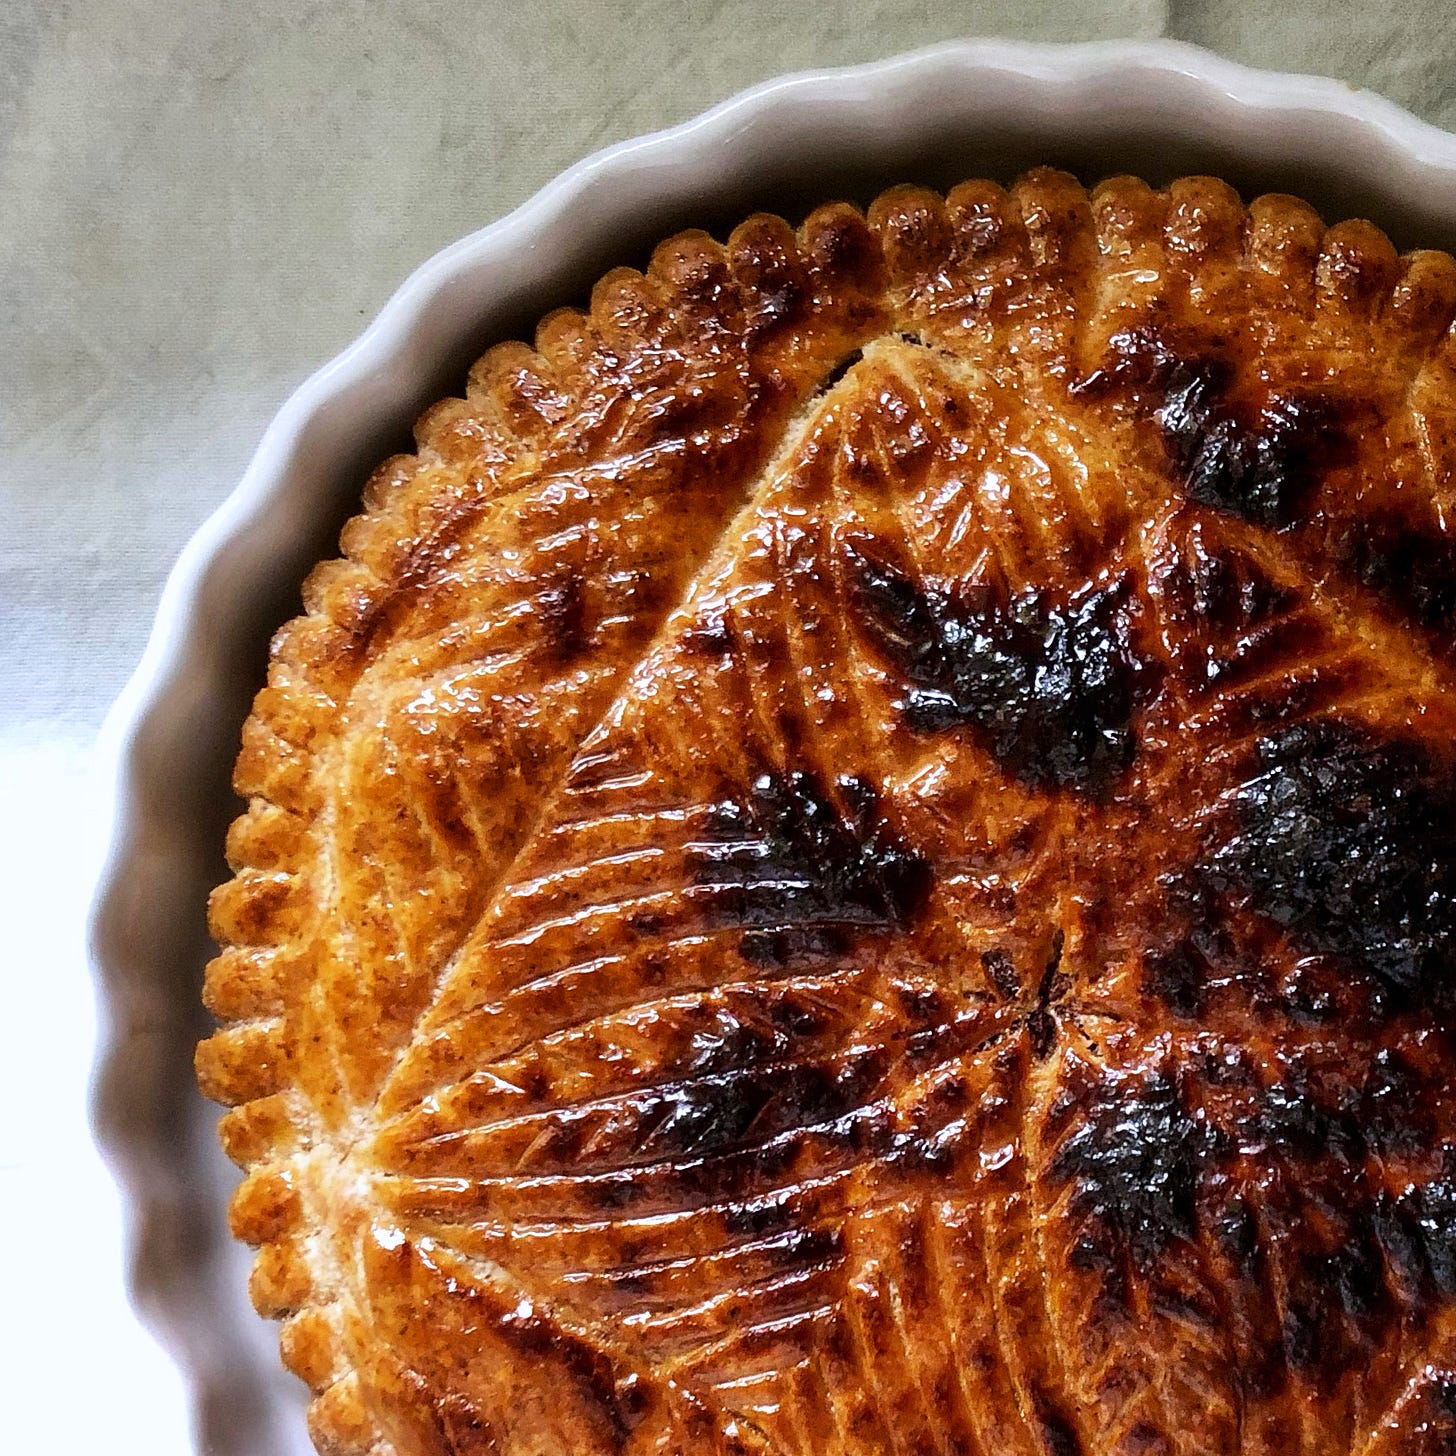
As you can see in the photo above, I had some issues with my broiler (or maybe my broiler had issues with me!). I like to think of this galette as bien cuit (well done), and it was still more than edible. This part of the recipe does take some fine-tuning and practice, so don’t worry if you don’t get it right on the first or second attempt. It’s a great way to get to know what hot spots your oven has!
Best,
Charlotte
The day that celebrates the arrival of the three kings to the manger where Baby Jesus was born.
The bran in whole wheat flour interferes with gluten formation, thereby “shortening” the dough and increasing tenderness.


