Friday Food Finds
25: Improvised staples
Hi all! We’re going to do things a little differently this week. In the interest of sharing more of my own food and recipe content with you, today I’m going to run through a selection of my pantry/refrigerator/freezer basics. I tend to make these without a formal recipe , so I’ll provide instead more general guidelines for the ingredients and preparation. I’ll also share some recipes I’ve made using these basics (or inspired by them) should those be more useful to you.
As always, feedback on what I write about and how I present it is most welcome. I want this newsletter to be as beneficial to you as possible.
Ratatouille
One of my favorite summer dishes is ratatouille1. It’s one I like to make in large batches, reserving some in the refrigerator to incorporate into weeknight meals and freezing some for midwinter indulgences.
I’ve always thought about sharing a recipe for ratatouille here, but it’s one of those dishes that I feel really doesn’t merit a specific list of ingredients or set of instructions. In fact, I’d argue that it’ll turn out so much better and more personalized if you make it according to your own tastes. So here are my very loose instructions for how to approach ratatouille.
Start with a roughly equal quantity of each of these: onions (or other allium), zucchini (or summer squash), eggplant, bell peppers, and tomatoes. Chop up the veggies however you'd like but try end up with pieces that are about the same size. Finely chop a garlic clove or five, depending on how many veggies you have and how garlicky you like your food.
In a large pot, sauté the onion in a generous glug of olive oil until softened. Stir in the garlic and cook just until fragrant. Add the zucchini/squash, then eggplant, then peppers, cooking briefly and stirring between each addition. Season with salt and pepper then toss in some sprigs of thyme (or other fresh or dried herbs).
Reduce the heat and cover the pot to allow the vegetables to simmer for 5 to 10 minutes before adding the tomatoes and stirring again.
Re-cover the pot and cook for 15 minutes to an hour, depending on how tender you like your ratatouille.
TASTE and season with more salt and pepper if necessary.
Again, you can (and should) adapt ratatouille to your own tastes however you’d like. Some recipes have you roasting the veggies before stewing them and/or peeling them and your tomatoes first. I like to keep the preparation relatively simple since there’s a better chance I’ll make it more frequently that way. This is also the only way I ever saw my mom and relatives prepare it when I was growing up.
If you are looking for something that’s as elegant as it is delicious, Dorie Greenspan’s Summer Vegetable Tian is a ratatouille-inspired recipe that I quite enjoy. Although Dorie’s recipe doesn’t include bell peppers, I like incorporating them into the dish when I make it to give it more ratatouille flair. Wedging some little goat cheese medallions into the vegetables would also be an excellent embellishment. You decide if that’s your thing.
Beans
Beans have become a year-round staple for our family. When I can, I like to cook a good-sized (1-pound or so) batch of dried beans to keep in the refrigerator and incorporate into our meals throughout any given week.
My favorite way to cook beans is in my electric pressure cooker according to this incredibly handy guide from Primary Beans. It’s a pretty all-encompassing guide, but I refer to it primarily for the cooking times. In my experience the timing is critical to achieve beans with the most exquisite texture: creamy yet perfectly al dente. As for the rest, I do pretty much follow the guide, but here’s my go-to method:
Add 1 pound of beans to your pressure cooker and cover them with enough water (you can use stock too, but I love using the resulting pure bean broth) to surpass the beans by 1 1/2”.
Add a bay leaf, about 1 1/2 teaspoons of salt, and about 1 tablespoon of olive oil to the beans.
Cook the beans on high pressure according to the time chart in the Primary Beans guide, allowing the cooker to naturally release pressure for 10 minutes before using the quick release feature.
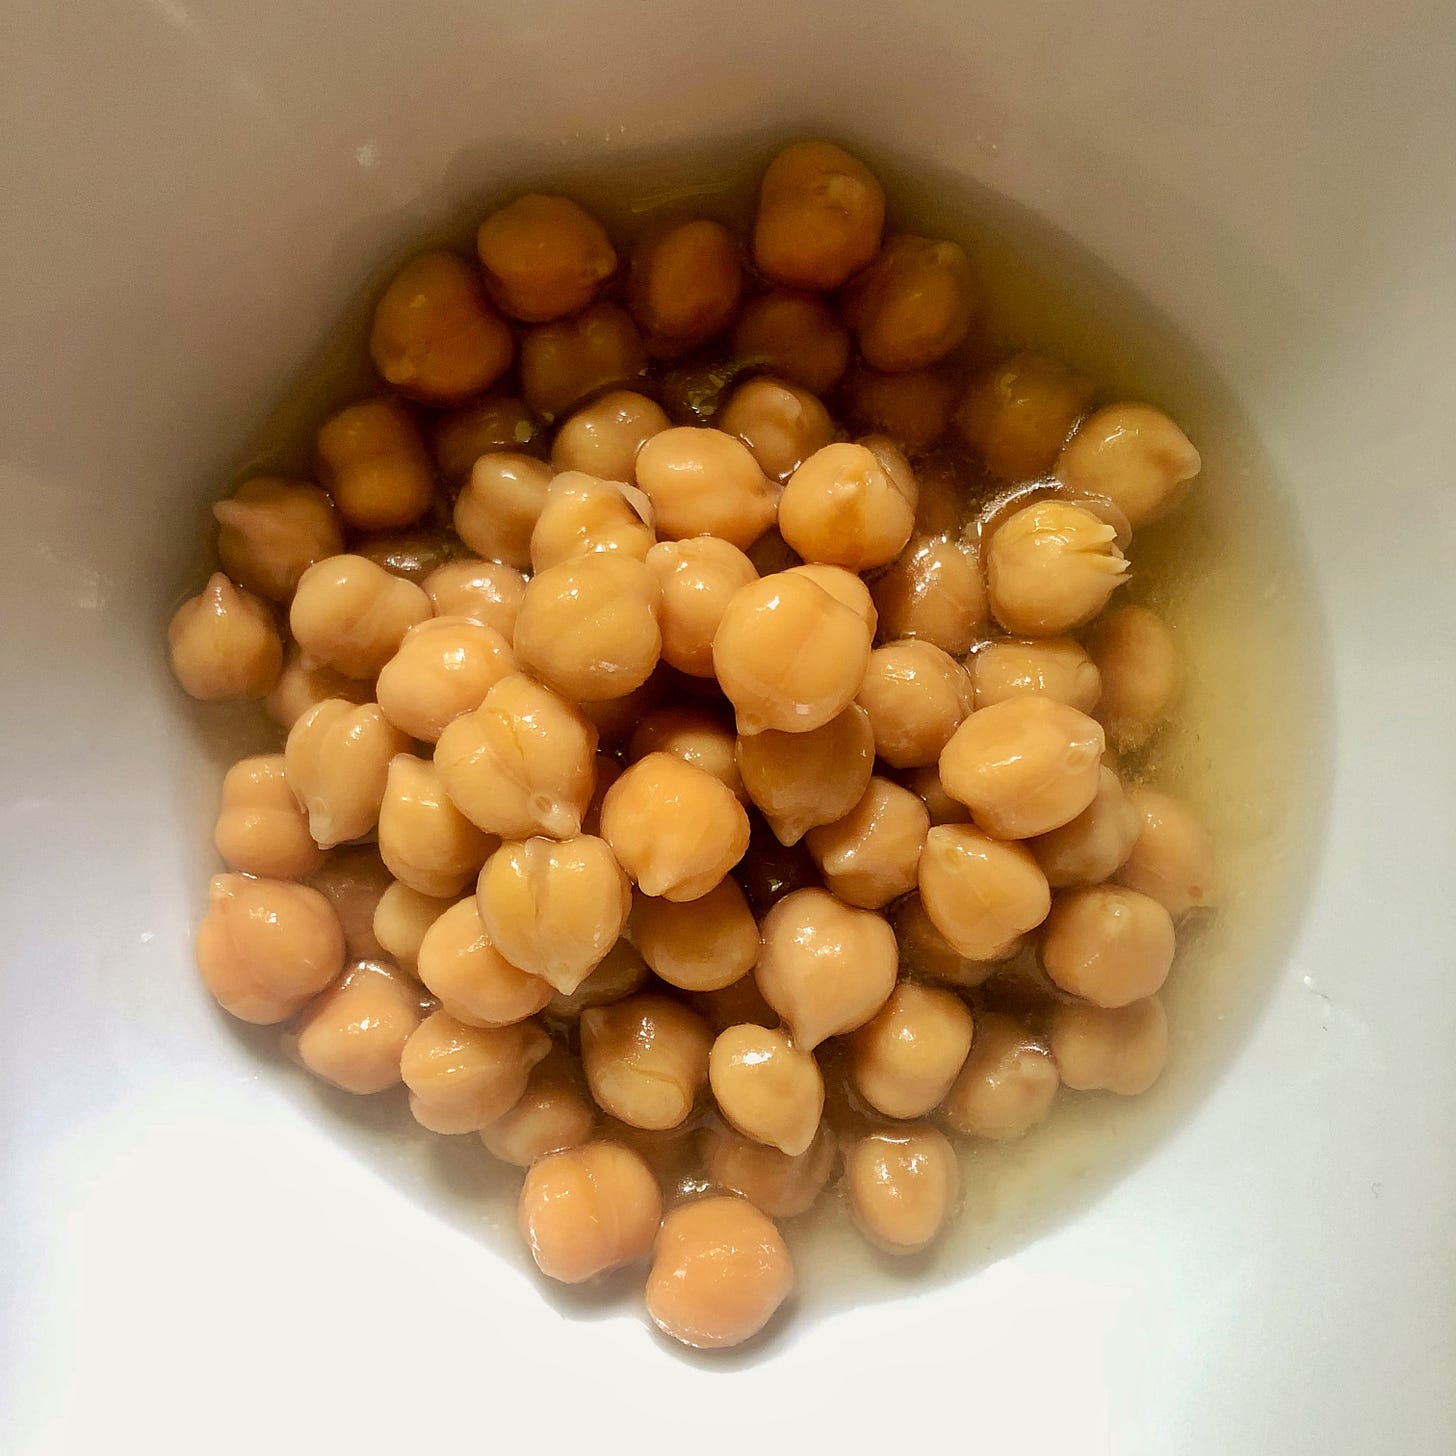
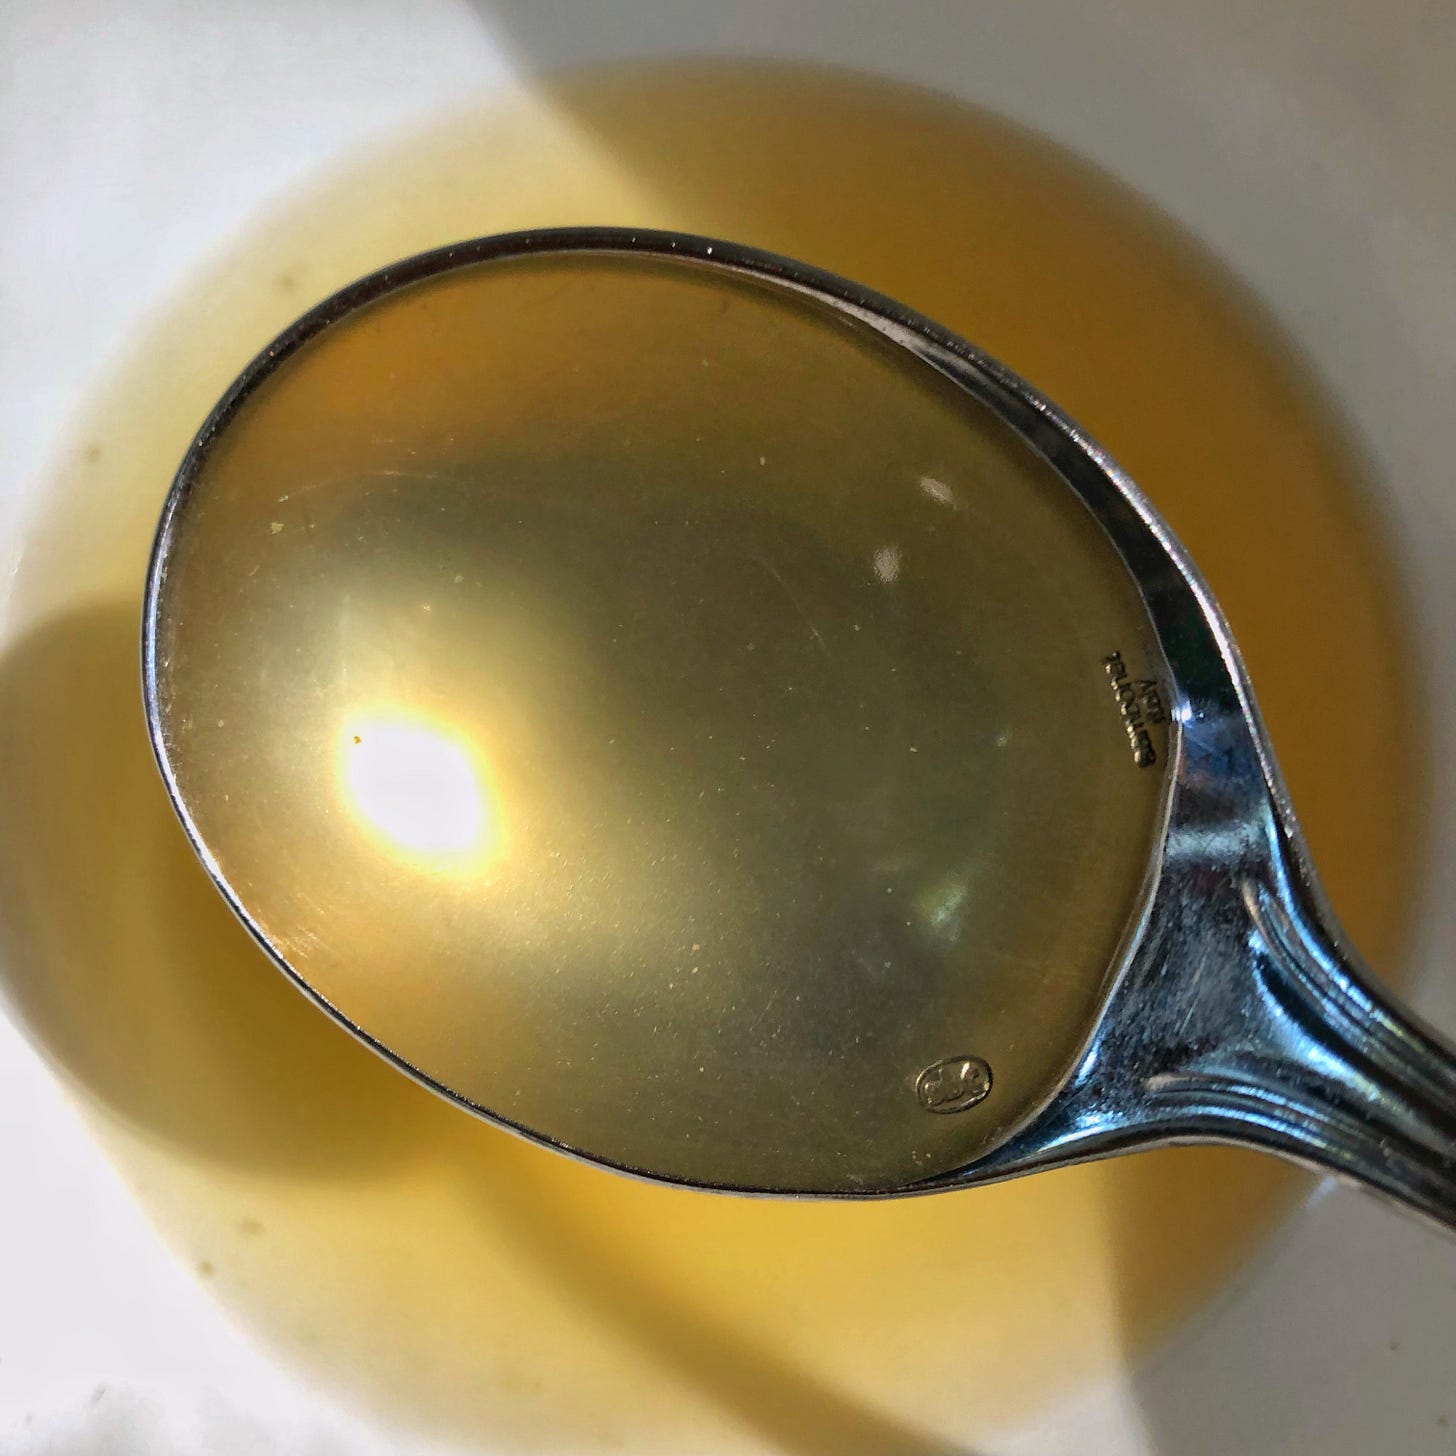
With this method, I have quite truthfully never been anything but delighted by the resulting flavor and texture of my beans. No cooking technique has ever proven to be as reliable or simple. Not only that, but the broth that you get with the beans is luxuriously rich.
As an example, the first batch of chickpeas I made per this method made me never want to buy canned chickpeas again (I will of course when convenience mandates it). The flavor and texture was incomparable, and I found them to be endlessly snackable. I also used them to make an improvised version of this Chickpea Avocado Lemon Mash that I wrote about earlier this summer.
Chicken Stock
While we’re not far from the subject of the pressure cooker and stock, let’s jump right into how and why I use the former to make the latter. There is very little chance I would ever try to make stock at home if it weren’t for my pressure cooker. This countertop appliance cuts what is typically a multi-day process down to a mere 90 minutes or less.
I’m not a devoted stock maker. I do it more out of a desire to avoid wasting as much food as possible — including chicken carcasses and vegetable trimmings when I can remember not to compost them. I freeze most of the leftover bones from roasted chickens and when I have accumulated enough of them (about 2 pounds, or 2 to 3 carcasses, worth), I pull them out and get to work on stock. I tend to keep the aromatics pretty basic unless I’ve remembered to also set aside certain vegetable trimmings. In general, this is how I approach stock:
Put 1 to 2 pounds of chicken bones or carcasses (any bones that haven’t already been braised or stewed for a long period of time) into a large (6-quart) pressure cooker. Add a bay leaf or two, a halved large onion, 1 or 2 carrots cut into thirds, and a teaspoon of black peppercorns (optional).
Fill the pressure cooker with enough water to completely submerge the bones and aromatics (fill no more than 2/3rds of the pressure cooker).
Cook on high pressure for 45 minutes then let the pressure release naturally until the lid is unlocked.
Allow the stock to cool for about 30 minutes (so it’s not so hot to work with) then pour it through a fine-mesh strainer into storable containers or jars (I like to use tall quart-sized recycled takeout containers).
If you’re inclined and have a canine friend, pick through the bones to easily pull off any remaining meat — you’ll likely get several doggy meals out of it!
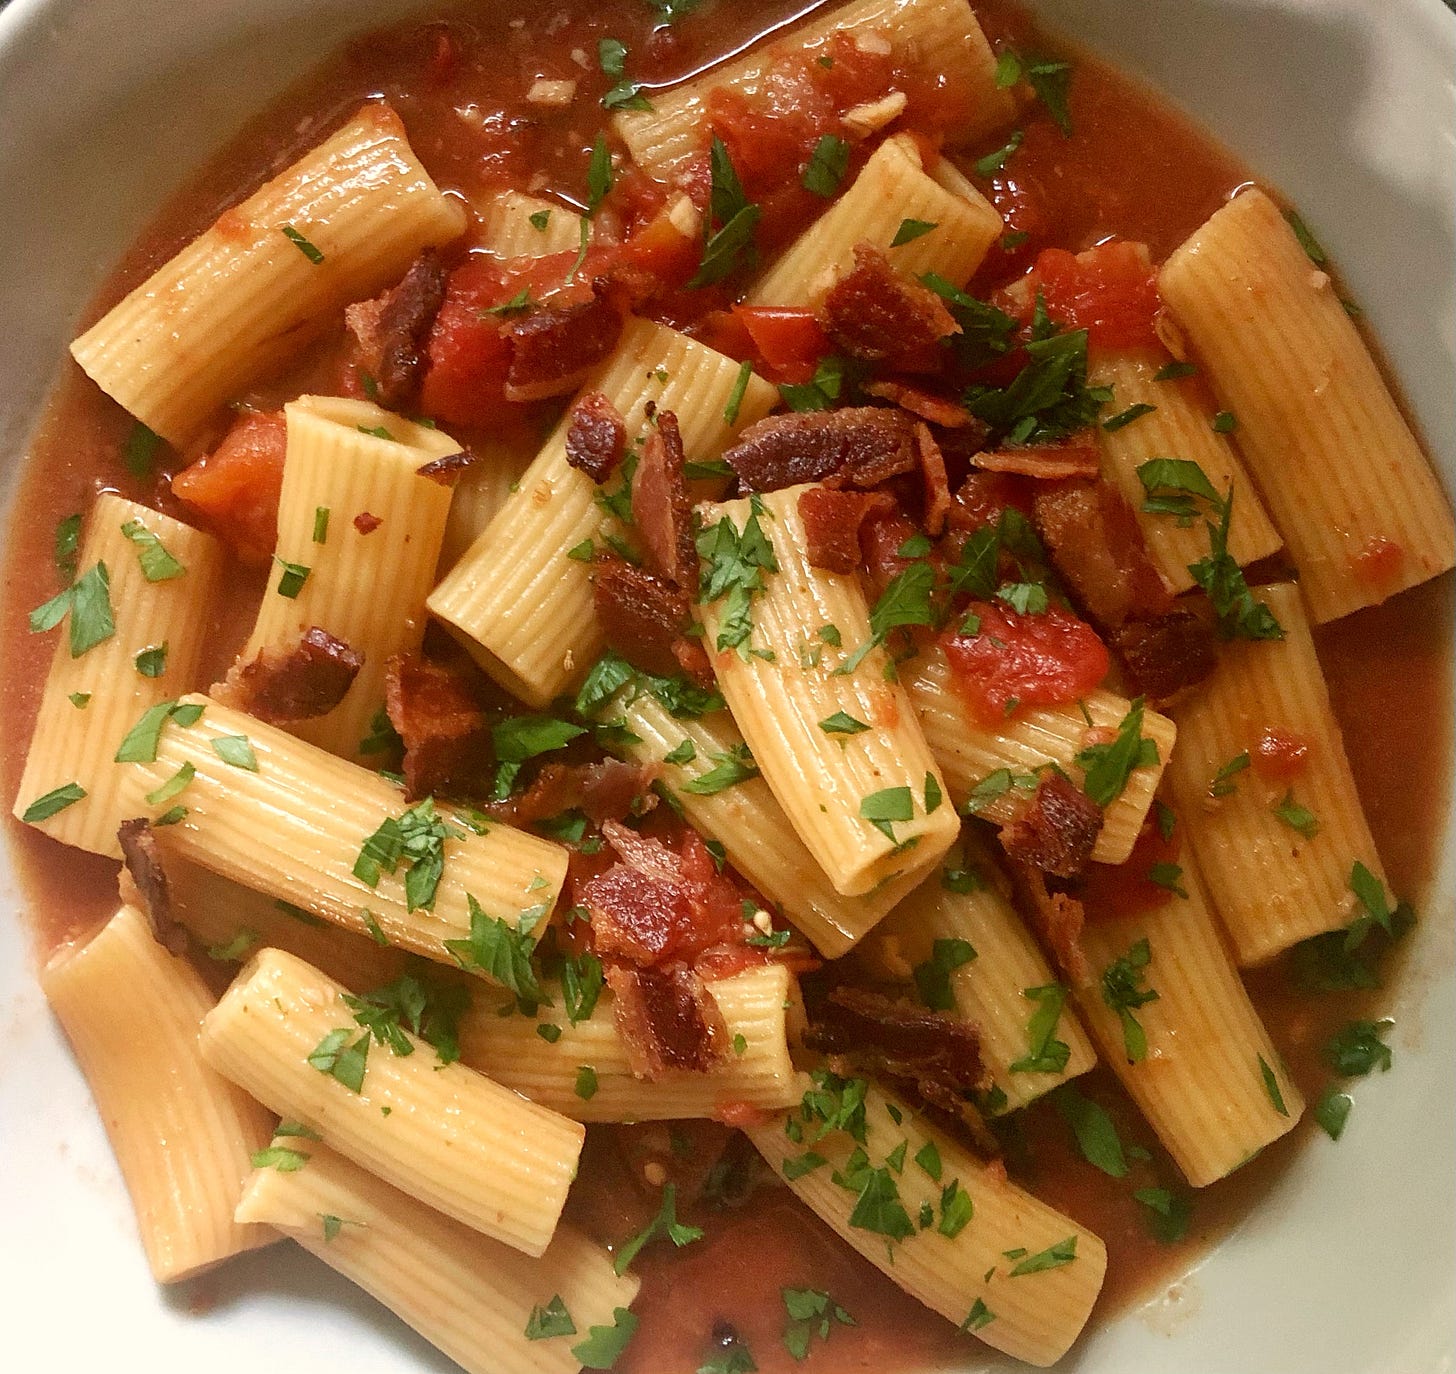
I probably don’t need to tell you what to do with stock. Should you be looking for a way to dive right back into using your pressure cooker though (I like getting multiple uses out of it in one go), this Instant Pot Rigatoni with Tomatoes and Pancetta from America’s Test Kitchen makes for a lovely, saucy one-pot pasta dinner. I think my sauce was a bit on the runny side, but the pasta was impeccably al dente. Bacon was a fine alternative for the pancetta, though I don’t recommend leaving out the anchovies; the sauce is a little flat without them.
Vanilla Extract
Kitchen staples are absolutely not exclusive to cooking. There are many baking staples that you can DIY depending on the tools, ingredients, and time you have available. One of the easiest and most accessible baking staples when it comes to those three resources is homemade vanilla extract.
Making your own vanilla extract is not just easily attainable, but it can actually be more cost-effective than buying a bottle of extract at the grocery store or from a specialty retailer. Going the DIY route can also be a guarantee that you’ll never run out of or need to buy extract again. Here’s how it works:
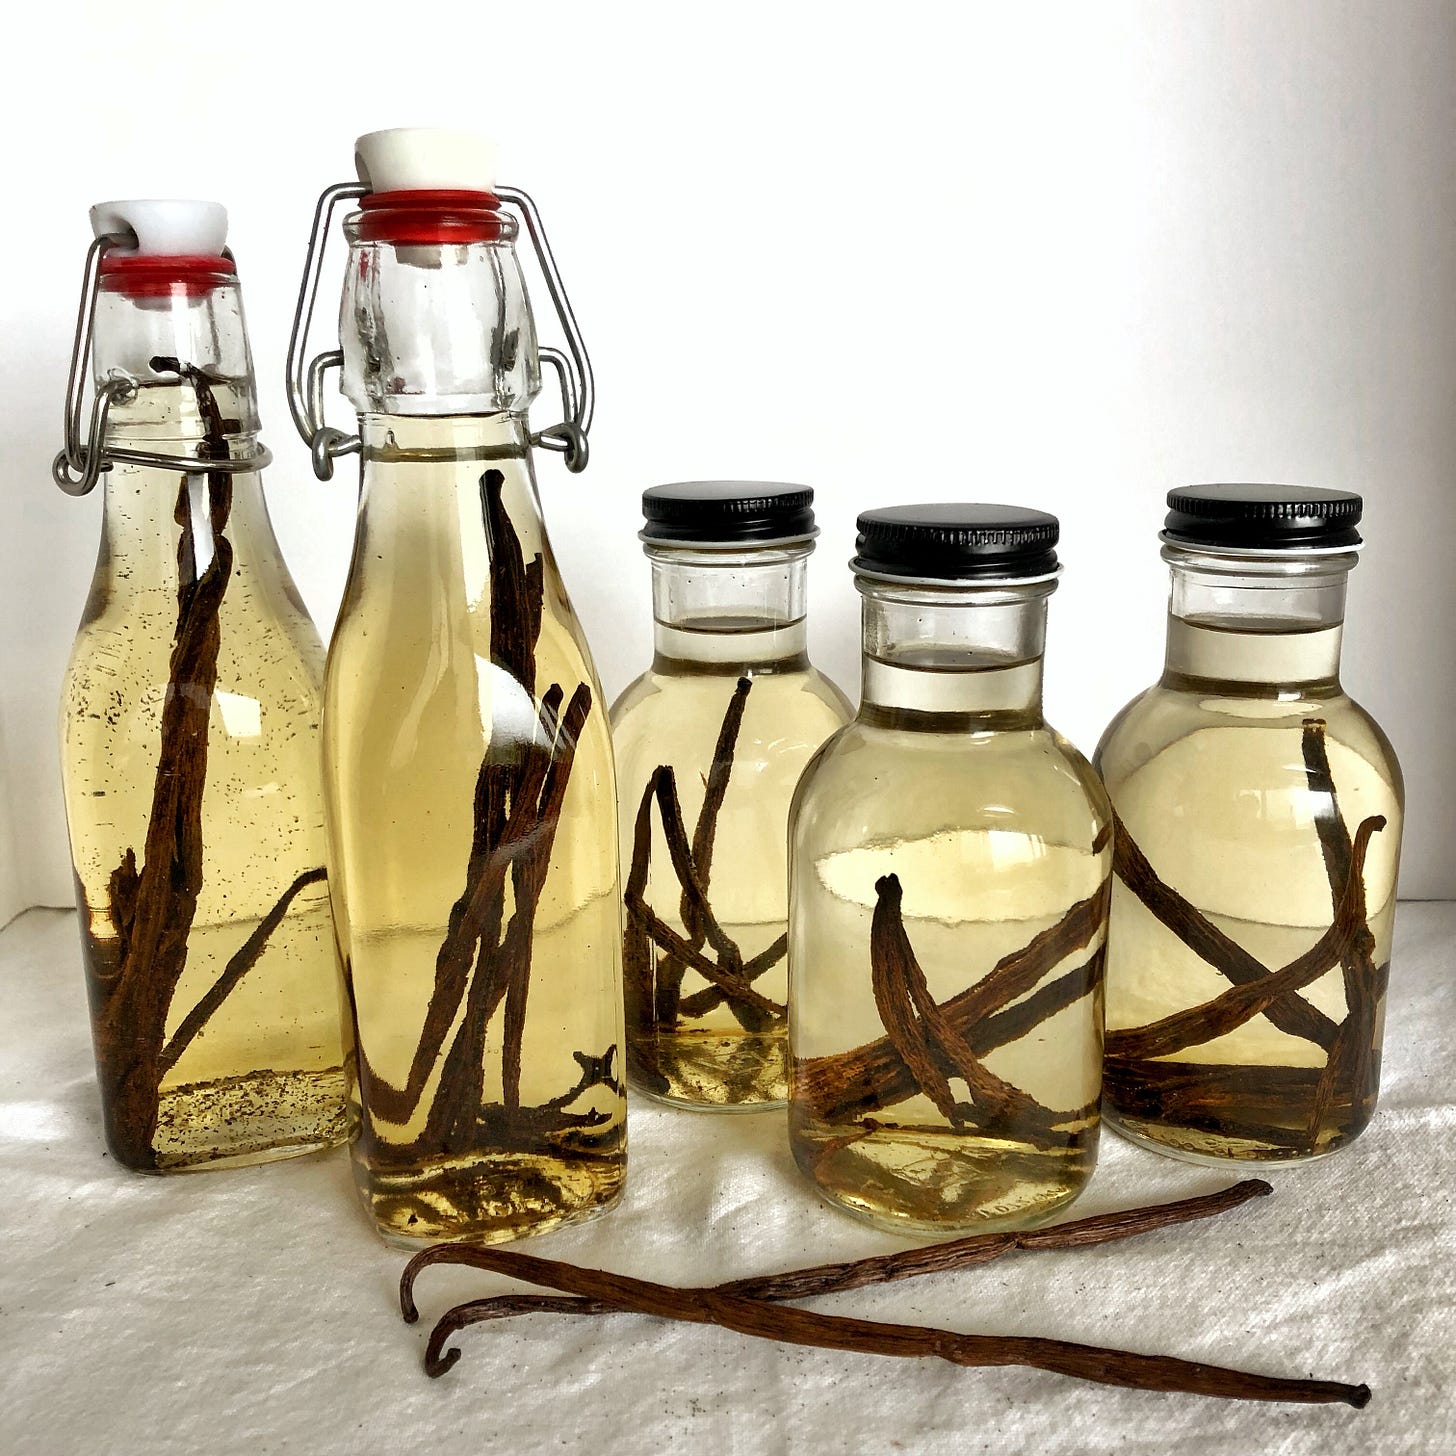
Split 5 vanilla beans in half lengthwise and add them to an 8-ounce bottle (you can cut the beans into pieces if they’re too long for your bottle).
Pour 1 cup (8 ounces) of vodka (it doesn’t have to be a high-quality brand) into the bottle using a funnel if it’s helpful.
Put the top on the bottle, sealing it tightly, and gently shake the bottle to help release some of the seeds from the beans.
Store the vanilla extract for at least 3 months before using. The longer it sits the more flavor it’ll develop.
Once you’ve used about 2/3 of your bottle, top it up with more vodka and add an extra vanilla bean every third or fourth time you refill it.
That’s really all it takes to keep a relatively low cost, intensely flavored supply of vanilla extract in your kitchen. If you can, keep two bottles on hand so that when you need to refill one, you have the other one to tap into as the first one redevelops its deeper flavor.
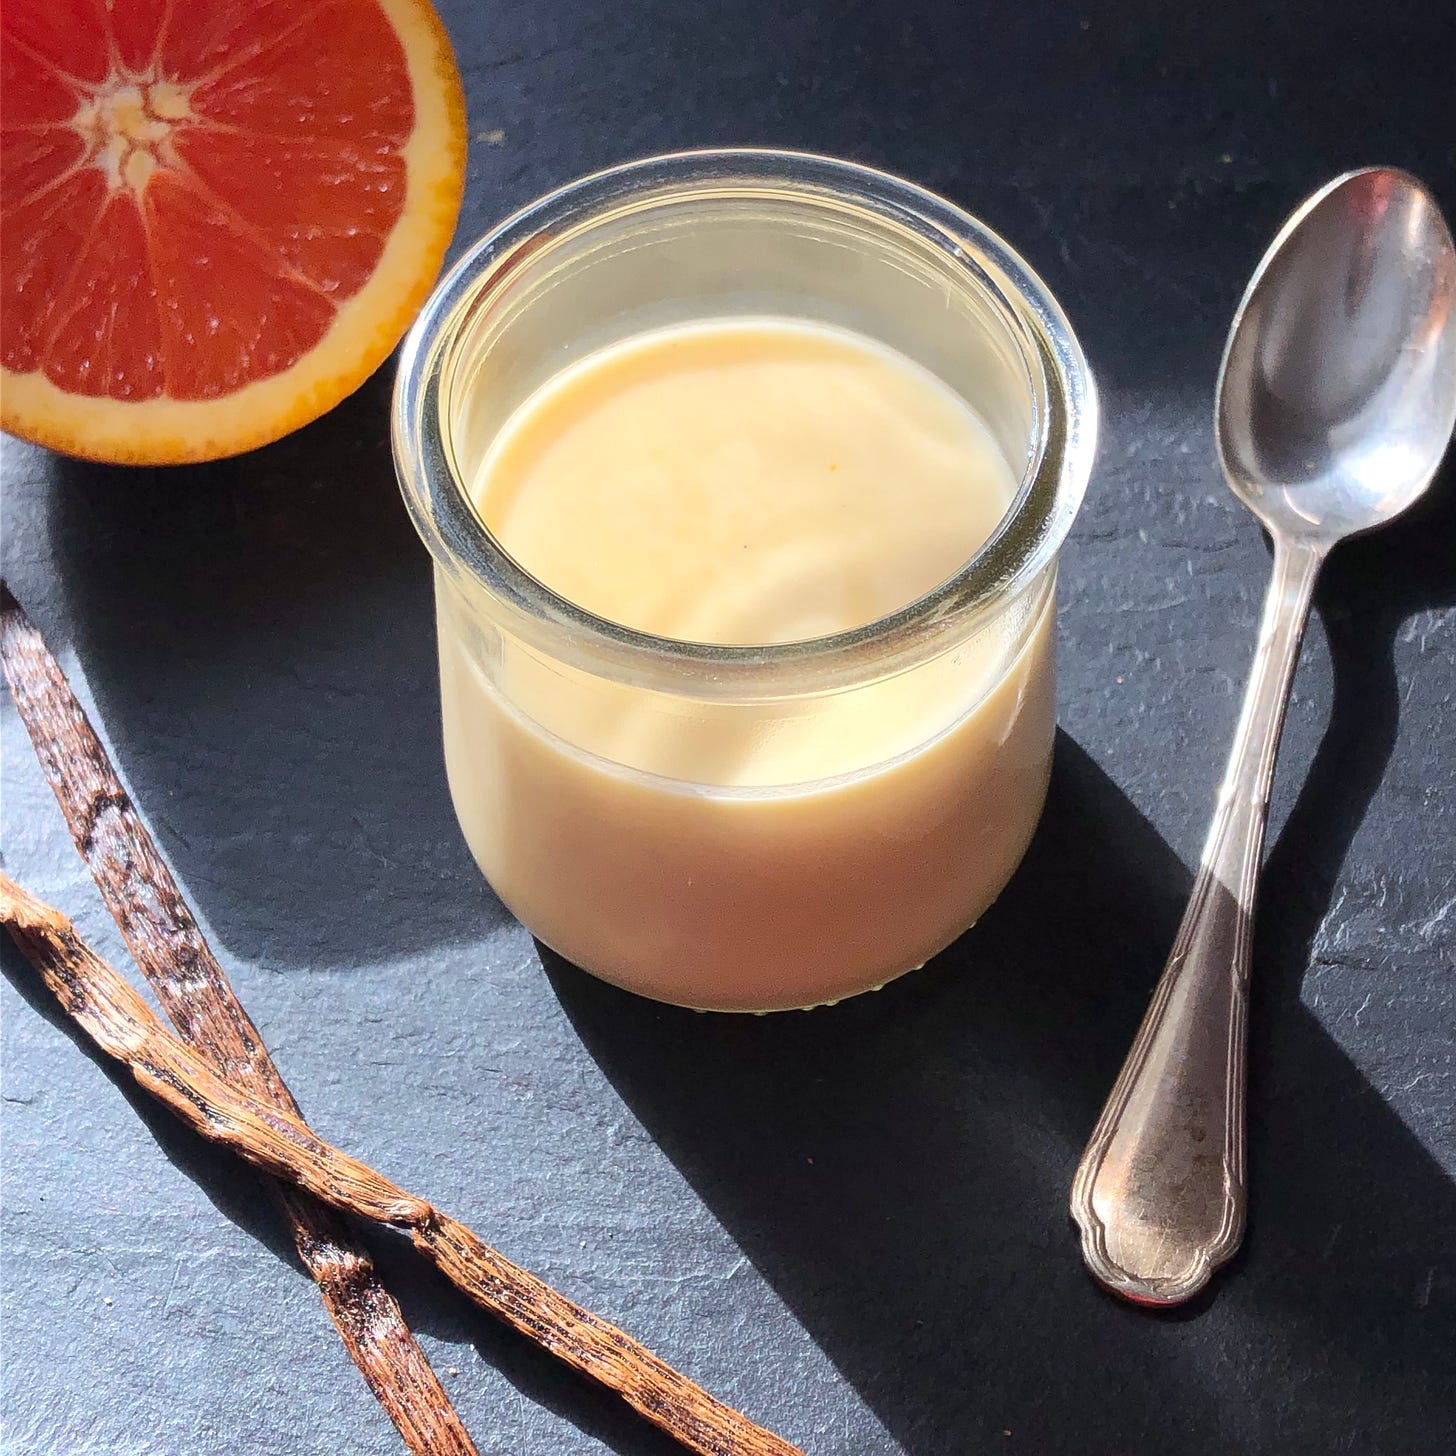
And if you need an easy way test run your batch in a few months, we’ll be in prime citrus season for this Orange-Vanilla Posset. Just a not-so-subtle suggestion!
Thanks for reading through this adapted version of Friday Food Finds. I’m forever contemplating the evolution of this newsletter and the various types of content I think would be the most valuable to you. I am hoping to send out a survey soon to find out what kind of content you like most. In the meantime, don’t hesitate to comment or respond with your thoughts. And do please share my newsletter with anyone you think would appreciate it.
Originating in Provence, ratatouille, at its most basic level, is a dish of stewed summer vegetables with aromatics. It can be traced to the late 1800s and early 1900s, and some sources suggested its creation was a result of farmers needing to put their abundant harvests to efficient use. There are many suggested methods of preparation, and the one I share above is just how I learned to make it from my family.


I am new to your newsletter. I really like it. Very informative and not overly "chatty". I am going to now make my own vanilla!! I have always been confused about adding salt to beans. Now I know. Keep up the good work!🤗